
2023-12-01
TL;DR: During my last project, I turned my somewhat presentable lab space into a nearly unusable mess. In order to make future projects easier and more fun, I’ve gotten organized and improved the space in several ways. It was a lot of work, but I recommend it.

The improvement that I cared about most was lighting. During previous projects, I spent a lot of time squinting under the light provided by a single 60 watt equivalent bulb installed in the ceiling, plus a small lamp for task lighting. I knew that I would be a lot more comfortable with lots of light filling the space. I briefly explored the possibility of installing traditional permanent light fixtures, but I didn’t want to deal with the inconvenience and expense of hiring a licensed electrician to do the work. Instead, I purchased these plug-in fixtures and attached them to the exposed joists. Then, I plugged them all into a single power strip so I could control them with one switch.
Each fixture claims to provide 3000 lumens, so four should provide 12000.1 I learned during this project that the lumen is a unit of light intensity as perceived by the human visual system, while the lux is a unit of light intensity per unit area (also known as illuminance). One lux is equal to one lumen per square meter, so to increase illuminance, you can choose between increasing light intensity or decreasing the targeted area. My lab area is about 12 square meters, so with 12000 lumens I should get about 1000 lux. The illuminance sensor on my phone confirmed that this was more or less correct.2 According to this table of indoor light levels, 1000 lux is suitable for “Normal drawing work, detailed mechanical workshops, operation theaters”. I can use task lighting to increase that value further when needed.
Anecdotally, I feel much more comfortable in the lab when the lights are on. I didn’t realize just how hard my eyes and brain were working to perceive the space with the limited light that was available before. This seems to have real physical and psychological benefits, especially when I work for long periods.
I’ve been playing with electronics, 3D printing, and “maker” tech for a few years now, so I’ve accumulated a lot of stuff. A good fraction of it is worth keeping, but some is definitely junk. I knew it wouldn’t be fun, but I took the time to go through every bin, box, and case I could find and sifted out the good from the bad. I ended up with a table full of parts and tools that I was excited to keep and a pile of stuff I was glad to toss or donate3. This was probably the most important step in this project because it guaranteed that the rest of the time I spent organizing and improving my space would go towards items I actually wanted to have.
Now, I should be truthful and mention that I haven’t actually gotten rid of the stuff I set aside for that purpose yet (or at least not all of it). It turns out that getting rid of stuff “the right way” isn’t easy or fun, especially when it’s ewaste. Finding responsible ways to throw this stuff away will take some effort and probably won’t happen soon because it’s easier for me to just leave it in the pile where it currently lives. It is, however, in a pile, which means that there isn’t any question about what I need to do with it. This act of containment is surprisingly freeing.
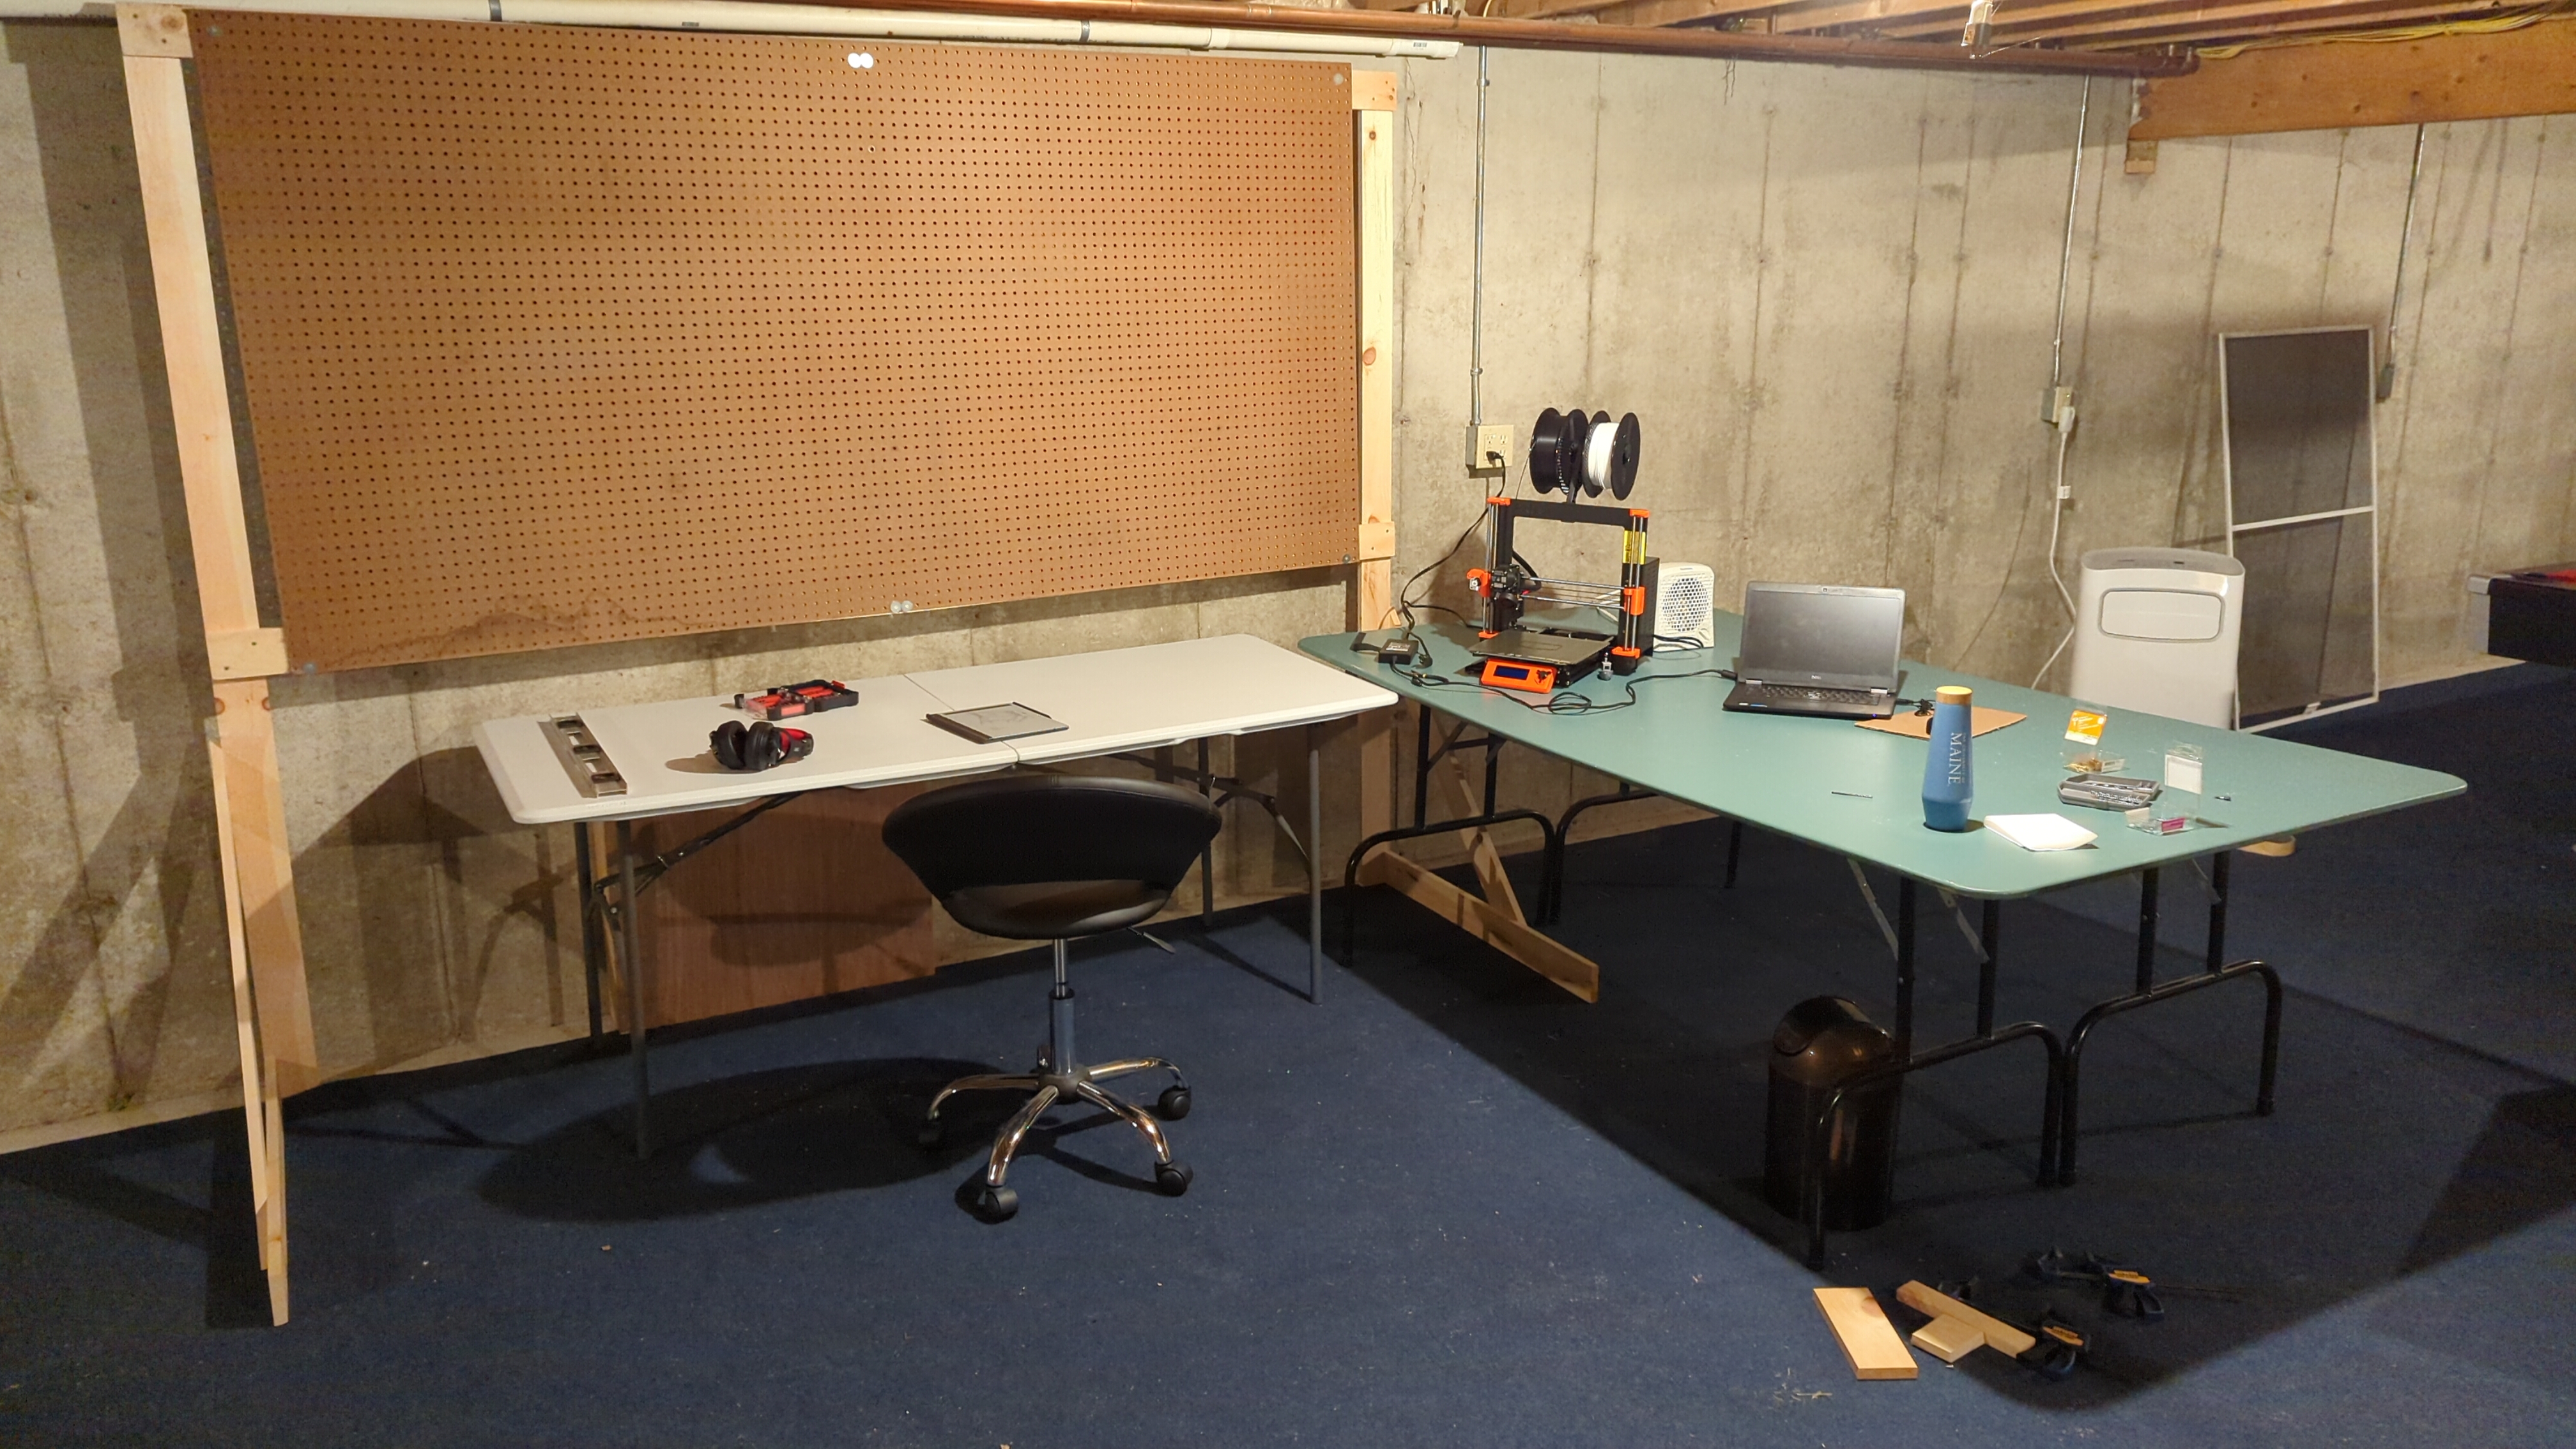
The previous owners of our house left a large pegboard in the shed. It’s a full sheet (4×8 feet) of quarter inch HDF with quarter inch holes on a one inch grid. It wasn’t doing me any good in the shed, so I brought it to the lab and built a frame for it out of leftover 1×4 boards. The frame does flex somewhat (2×4s probably would have been better), but it’s not really a problem. I designed the frame to resist pulling forces by adding horizontal legs pointing forward, but there is some space between the back of the frame and the wall due to some overhead pipes and a need for hook clearance. For this reason, pushing on the board causes it to flex noticeably. In the future, I will probably make some spacers for the corners of the frame that make contact with the wall.

Adding vertical storage to the lab has made a big difference in getting organized. Lots of items seem to “prefer” to be stored on hooks, most notably long cords and cables. Getting these items out of drawers and bins and up onto the pegboard makes them visible and easy to grab. Tools that I use often also seem to have this preference. With a pegboard, everything can be moved around as needed, and I’ve downloaded and 3D printed several designs for pegboard-compatible fixtures.
If you’re not familiar with Gridfinity, see this introductory video by its creator, Zack Freedman.
Of the time I spent on this project, most of it went to this part due to the high number of baseplates and bins that I wanted to print. I used a bit less than 2 kg of filament—which is a lot for me—and printed about 300 grid units of baseplates.4 I did briefly explore modular baseplates, but eventually I figured out that I could just print multiple large baseplates and place bins across the seams to roughly hold them together. I didn’t use magnets and haven’t really missed them.


My favorite property of Gridfinity is its flexibility. I don’t have to plan out my whole storage system in advance and then grumble when my needs change. I just print bins (and other stuff) and move them around however I want. I’ve found it useful to have a decent number of baseplate units available on my desk where I can keep stuff I use all the time or that I’m using for an ongoing project. The rest of the baseplates and the items that I don’t use as often go in drawers. But the beauty is that I’m not committed to that arrangement! If tomorrow I suddenly start using something in the drawers way more often, I can just plop it on the desk baseplates, swapping old stuff into the drawers if I need more space.5
I’ve only begun to explore what’s possible with this system. I’m probably not going to go much further with it unless I need to, but I sleep comfortably with the knowledge that Gridfinity can support whatever I come up with.
I’ve created a loose mapping between the tiered organizational system in this project and the general design of tiered computer memory. This will be familiar to you if you’ve seen this list of approximate latency values for common computer operations. I realized that I could think of myself as a CPU that operates on matter instead of data. I could then apply memory optimization techniques to the physical space around me. I don’t really know if this made any significant difference in how I designed the space, but it did allow me to convert a somewhat unfamiliar task (getting organized) into a more familiar one (computer engineering) with acceptable loss in the conversion. It was also kind of fun.
Here’s the mapping:
| Computer | Real Space |
|---|---|
| microcode | The tools and parts currently in my hands |
| registers | The table in front of me |
| L1 cache | Gridfinity baseplates on desk, pegboard within reach |
| L2 cache | Gridfinity baseplates in drawers, rest of pegboard |
| L3 cache | Anywhere else in the lab (drawers, bins) |
| Main memory | Anywhere else in my house or shed |
| Disk | Local stores, anywhere I can go on the same day |
| Network | Online stores |
With this in mind, I can ask questions like:
Another neat extension to this idea involves coprocessors. If I can hand a task off to my 3D printer or another machine, then that frees up some time for me to do other stuff. I still have to monitor the machine, but it can mostly do its thing and I can do mine. Some tasks are only feasible when passed to a specialized coprocessor.
Gridfinity makes cache management quite easy under this paradigm. Moving things between or within caches is a matter of moving the bins. Everything fits no matter where I put it, so in a sense Gridfinity has partitioned a small amount of space into uniform memory cells that I can operate on with less effort.
These are LED fixtures, so they require much less power than incandescent bulbs for the same light intensity. A typical 60 watt incandescent bulb produces about 800 lumens (~13 lm/W), while these LED fixtures produce 3000 lumens using only 30 watts (100 lm/W).↩︎
The photos at the top appear to have similar lighting, but I suspect that’s due to my phone’s automatic exposure adjustment.↩︎
And so much cardboard.↩︎
I recommend buying a 0.6 mm nozzle for this because it increases print speed significantly with the right slicer settings.↩︎
And did I mention that the bins STACK?!↩︎