2022-12-25
I think handcrafted gifts often have the best ratio between emotional value and monetary value. The more love you can fit into a gift, the more the recipient will feel cared for when you give it to them. The absolute maximum possible value of this ratio is probably achievable only as a child — a handmade card is worth practically nothing to anyone except that child’s relatives, to whom it can be enormously valuable. Still, a handmade gift is usually well-received at any age, provided the quality is at least passable. This year, I found a solution that accounts for all this and makes use of some new tools I bought.
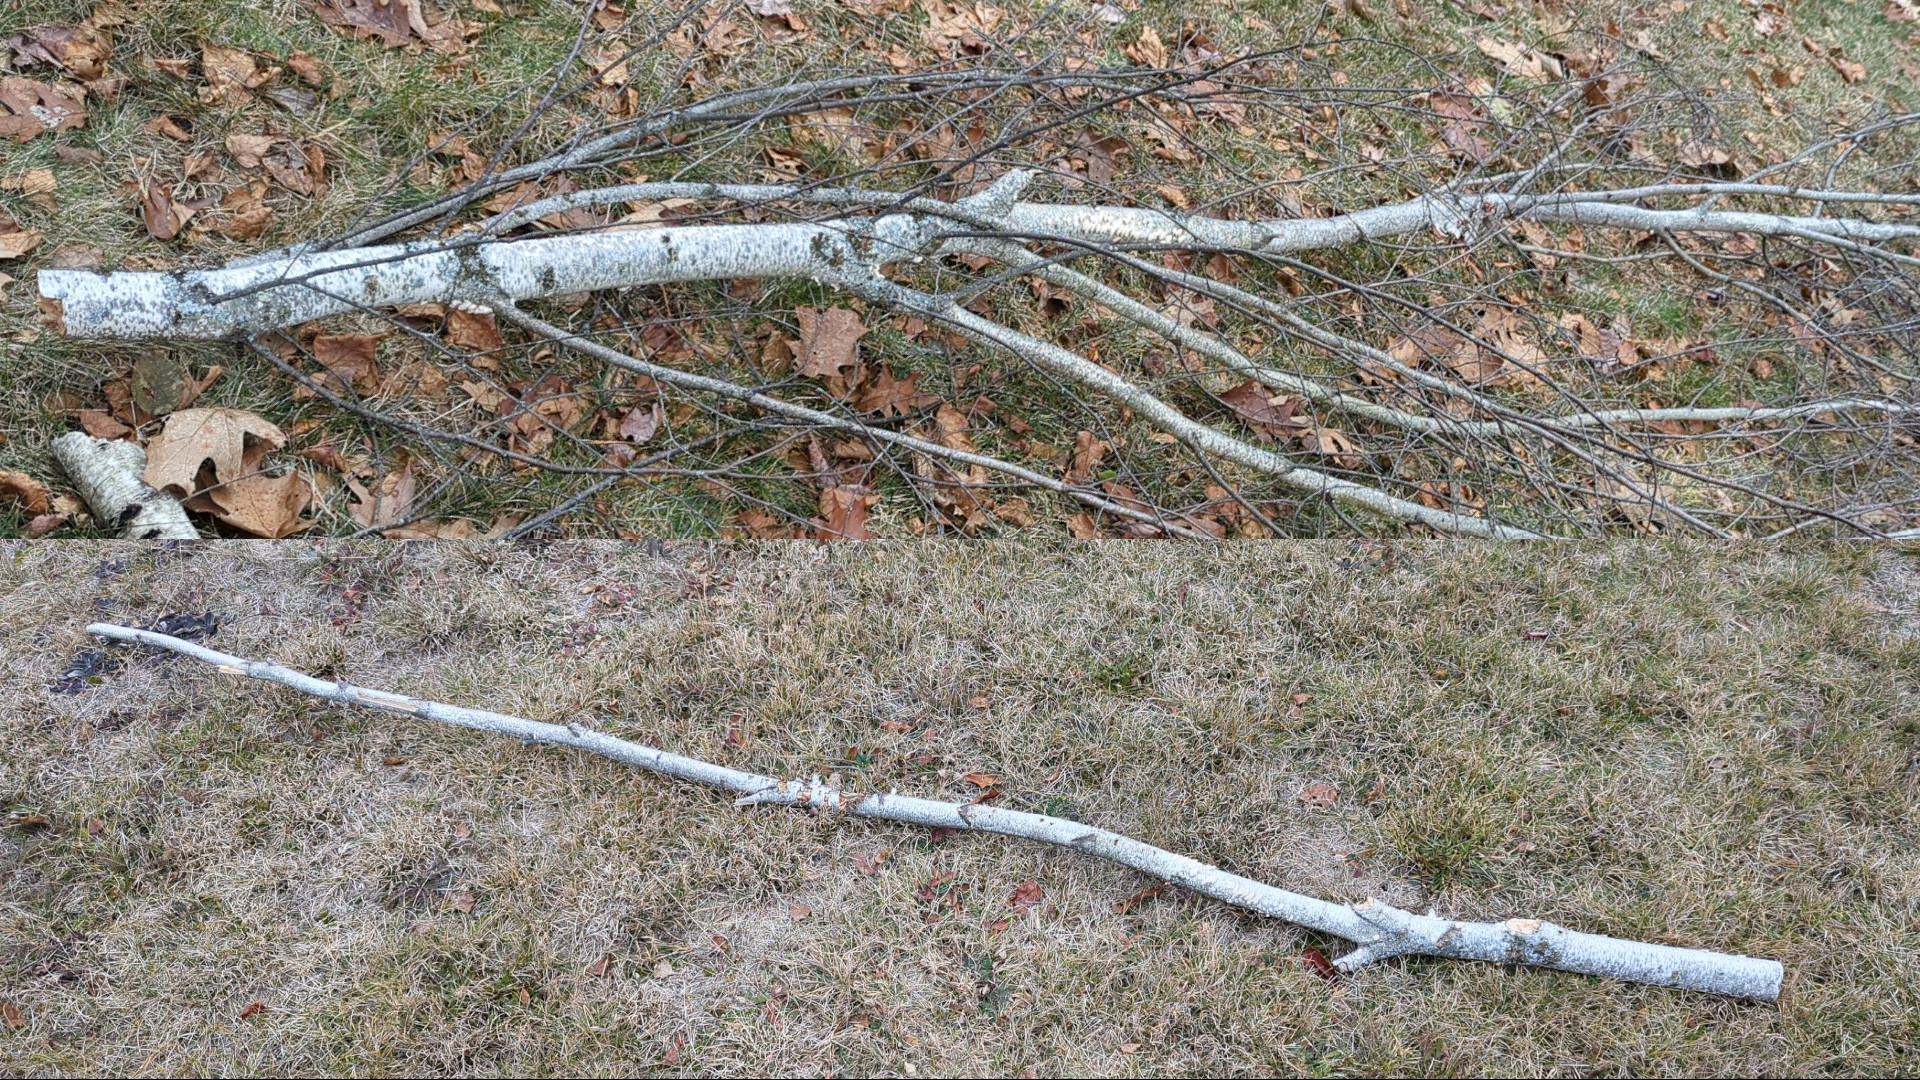
We have lots of birch trees on our property, and during the year a few of them have lost branches or fallen down entirely due to high winds. I bought a circular saw and a laser etcher this past year, so it seemed like it wouldn’t be too hard to cut some branches into little disks, dry them out, and etch them with personalized messages and images for my family and friends. Add a small hole and a loop of ribbon, and you’ve got yourself an ornament. Maximum love and care, minimum expense. (In fact, this even puts some materials to use that I would have discarded or ignored otherwise.)
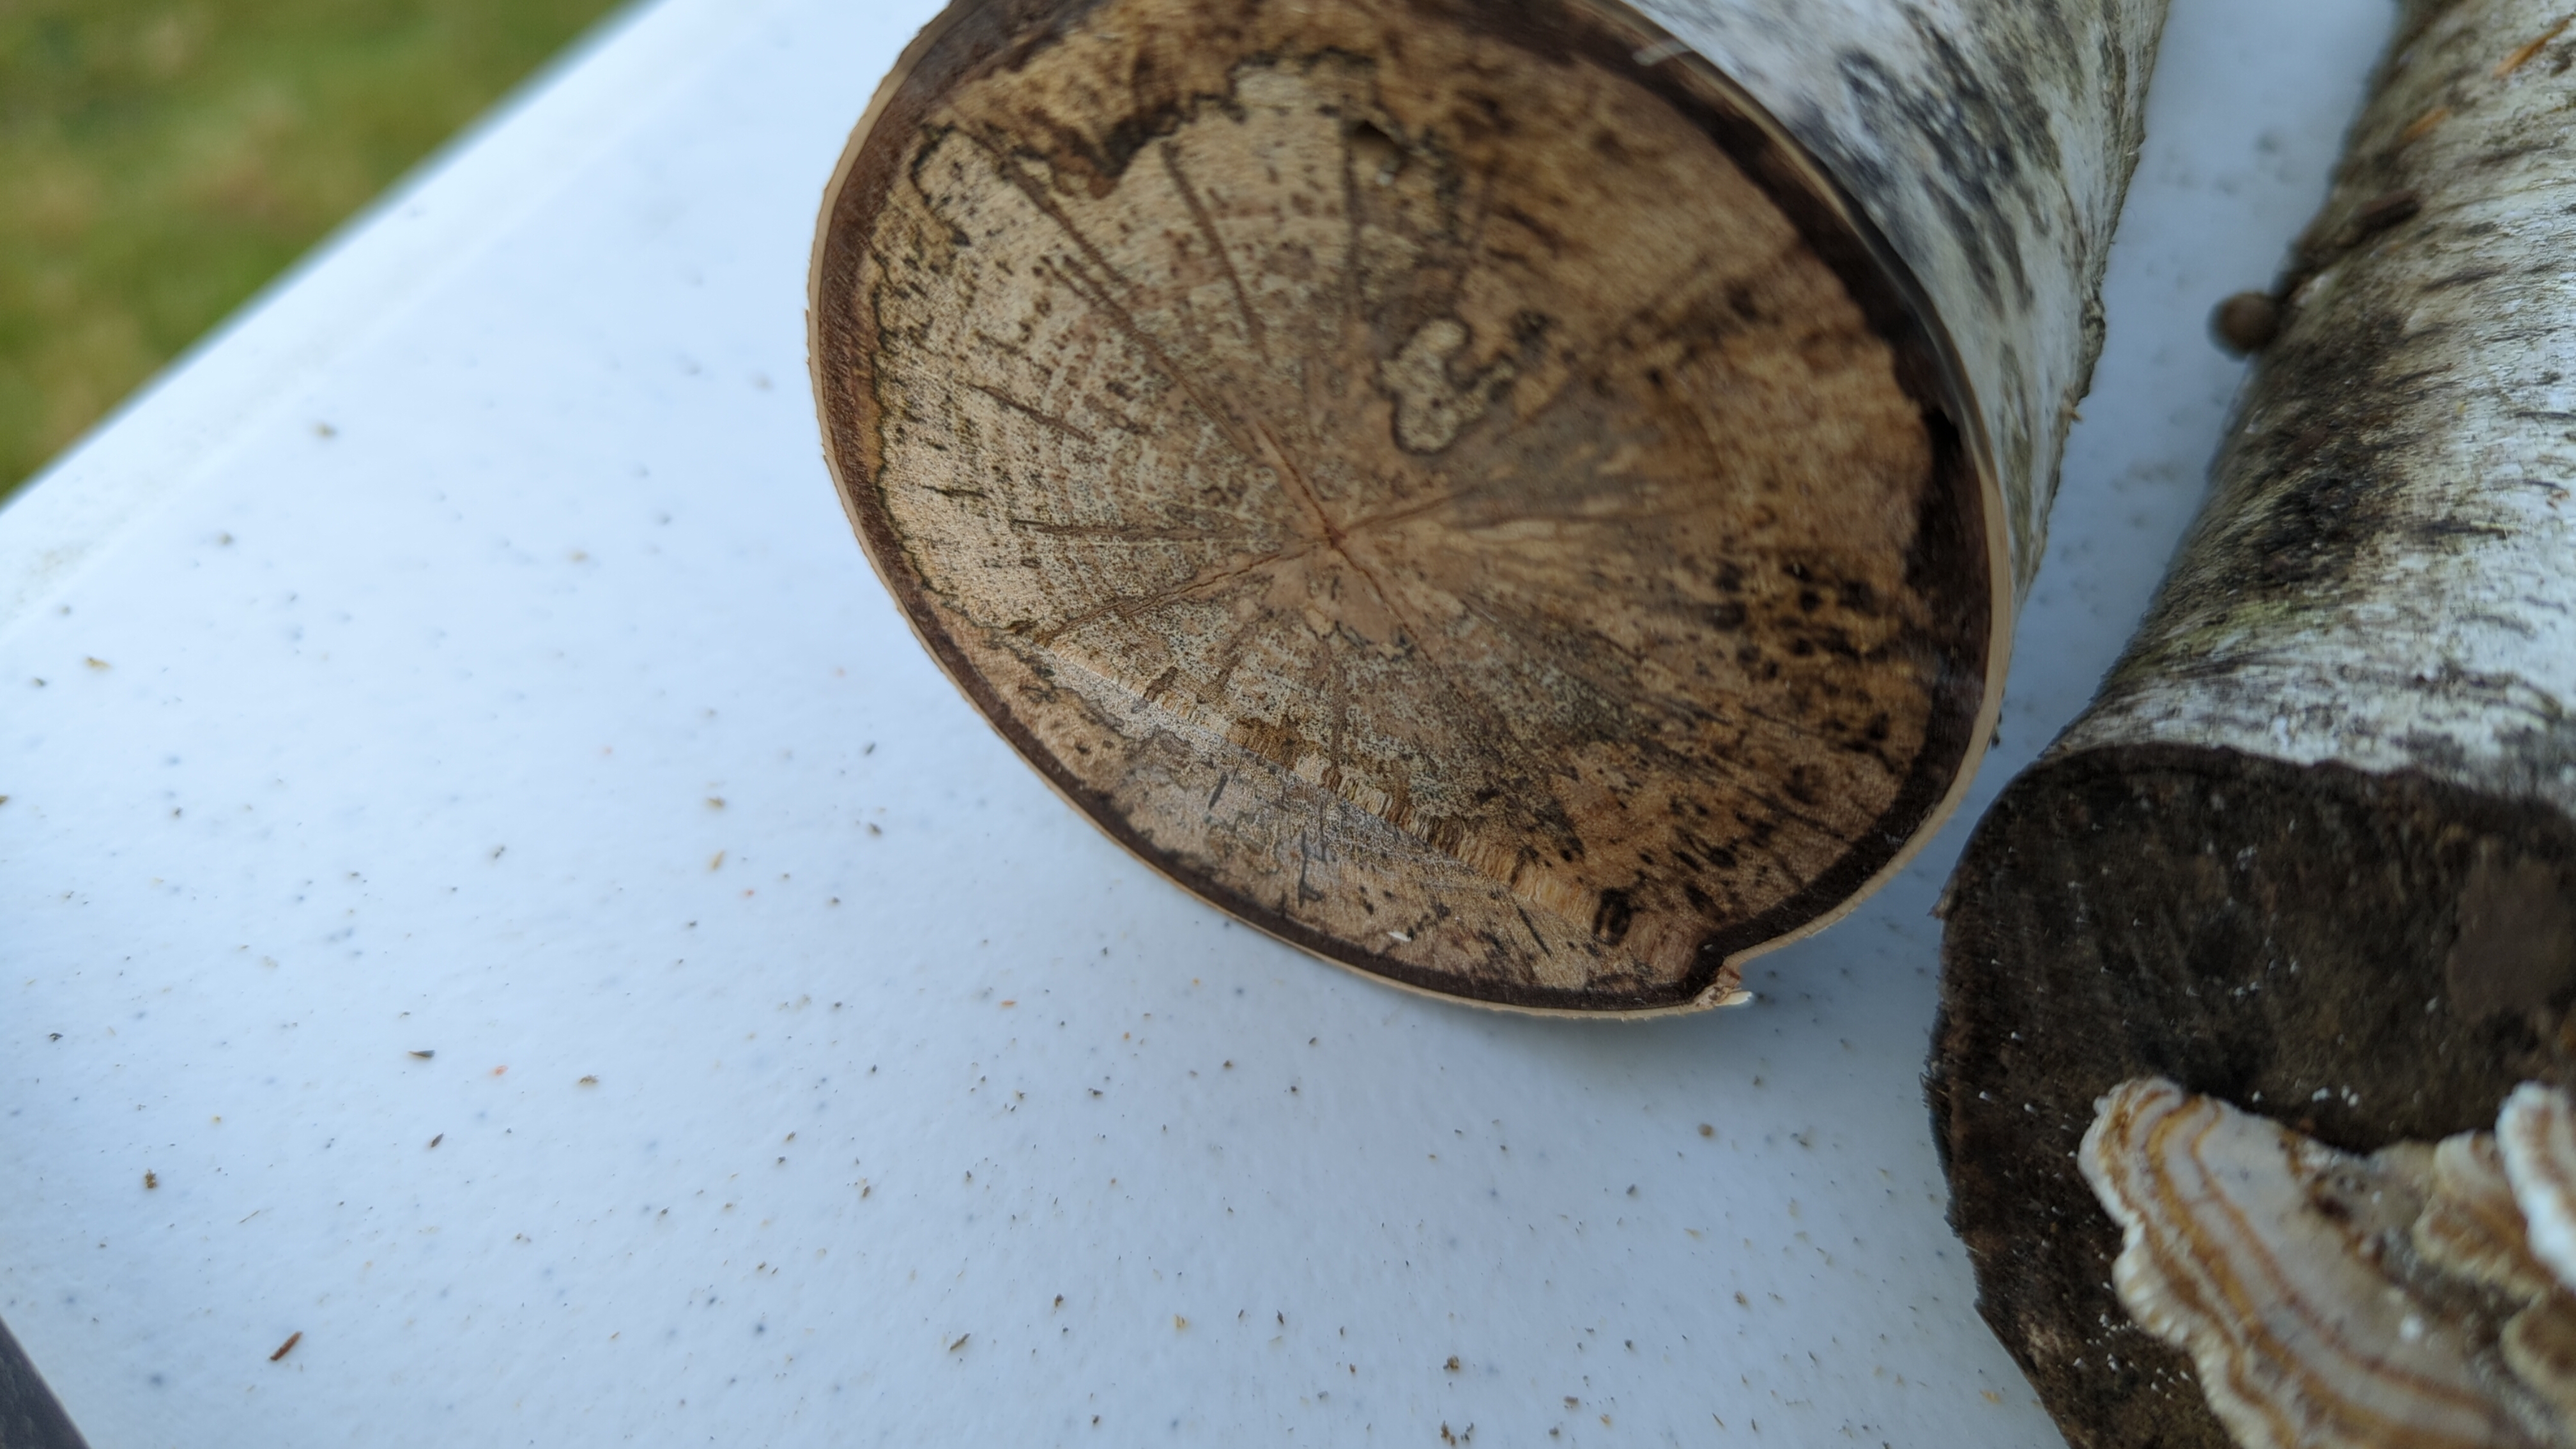
I had some small logs laying around already, and a few large branches blew out of some trees during a recent storm as well. I ended up preferring the newly-fallen branches because the interior of the wood seems to have a more even texture. The wood that had been sitting out for a while seemed to have marks on the inside, which I imagine is due to water soaking in over time. The more uniform texture of the fresh wood made it easier to read the text that I etched onto the surface.
My circular saw blade is the standard 7¼” diameter, which meant that I was limited to about 2¼” of cutting depth. I tried cutting some logs that were thicker than that by making one pass, flipping it over, and then making another pass to complete the cut, but I found that I wasn’t able to reliably line up the blade. This resulted in uneven faces that I didn’t feel like fixing. I suppose a table saw or other arrangement that allows for easy use of guides and jigs would have been ideal. Instead I chose to limit myself to logs that were less than 2¼” in diameter. Of course, this isn’t exact because the logs are never perfectly cylindrical.
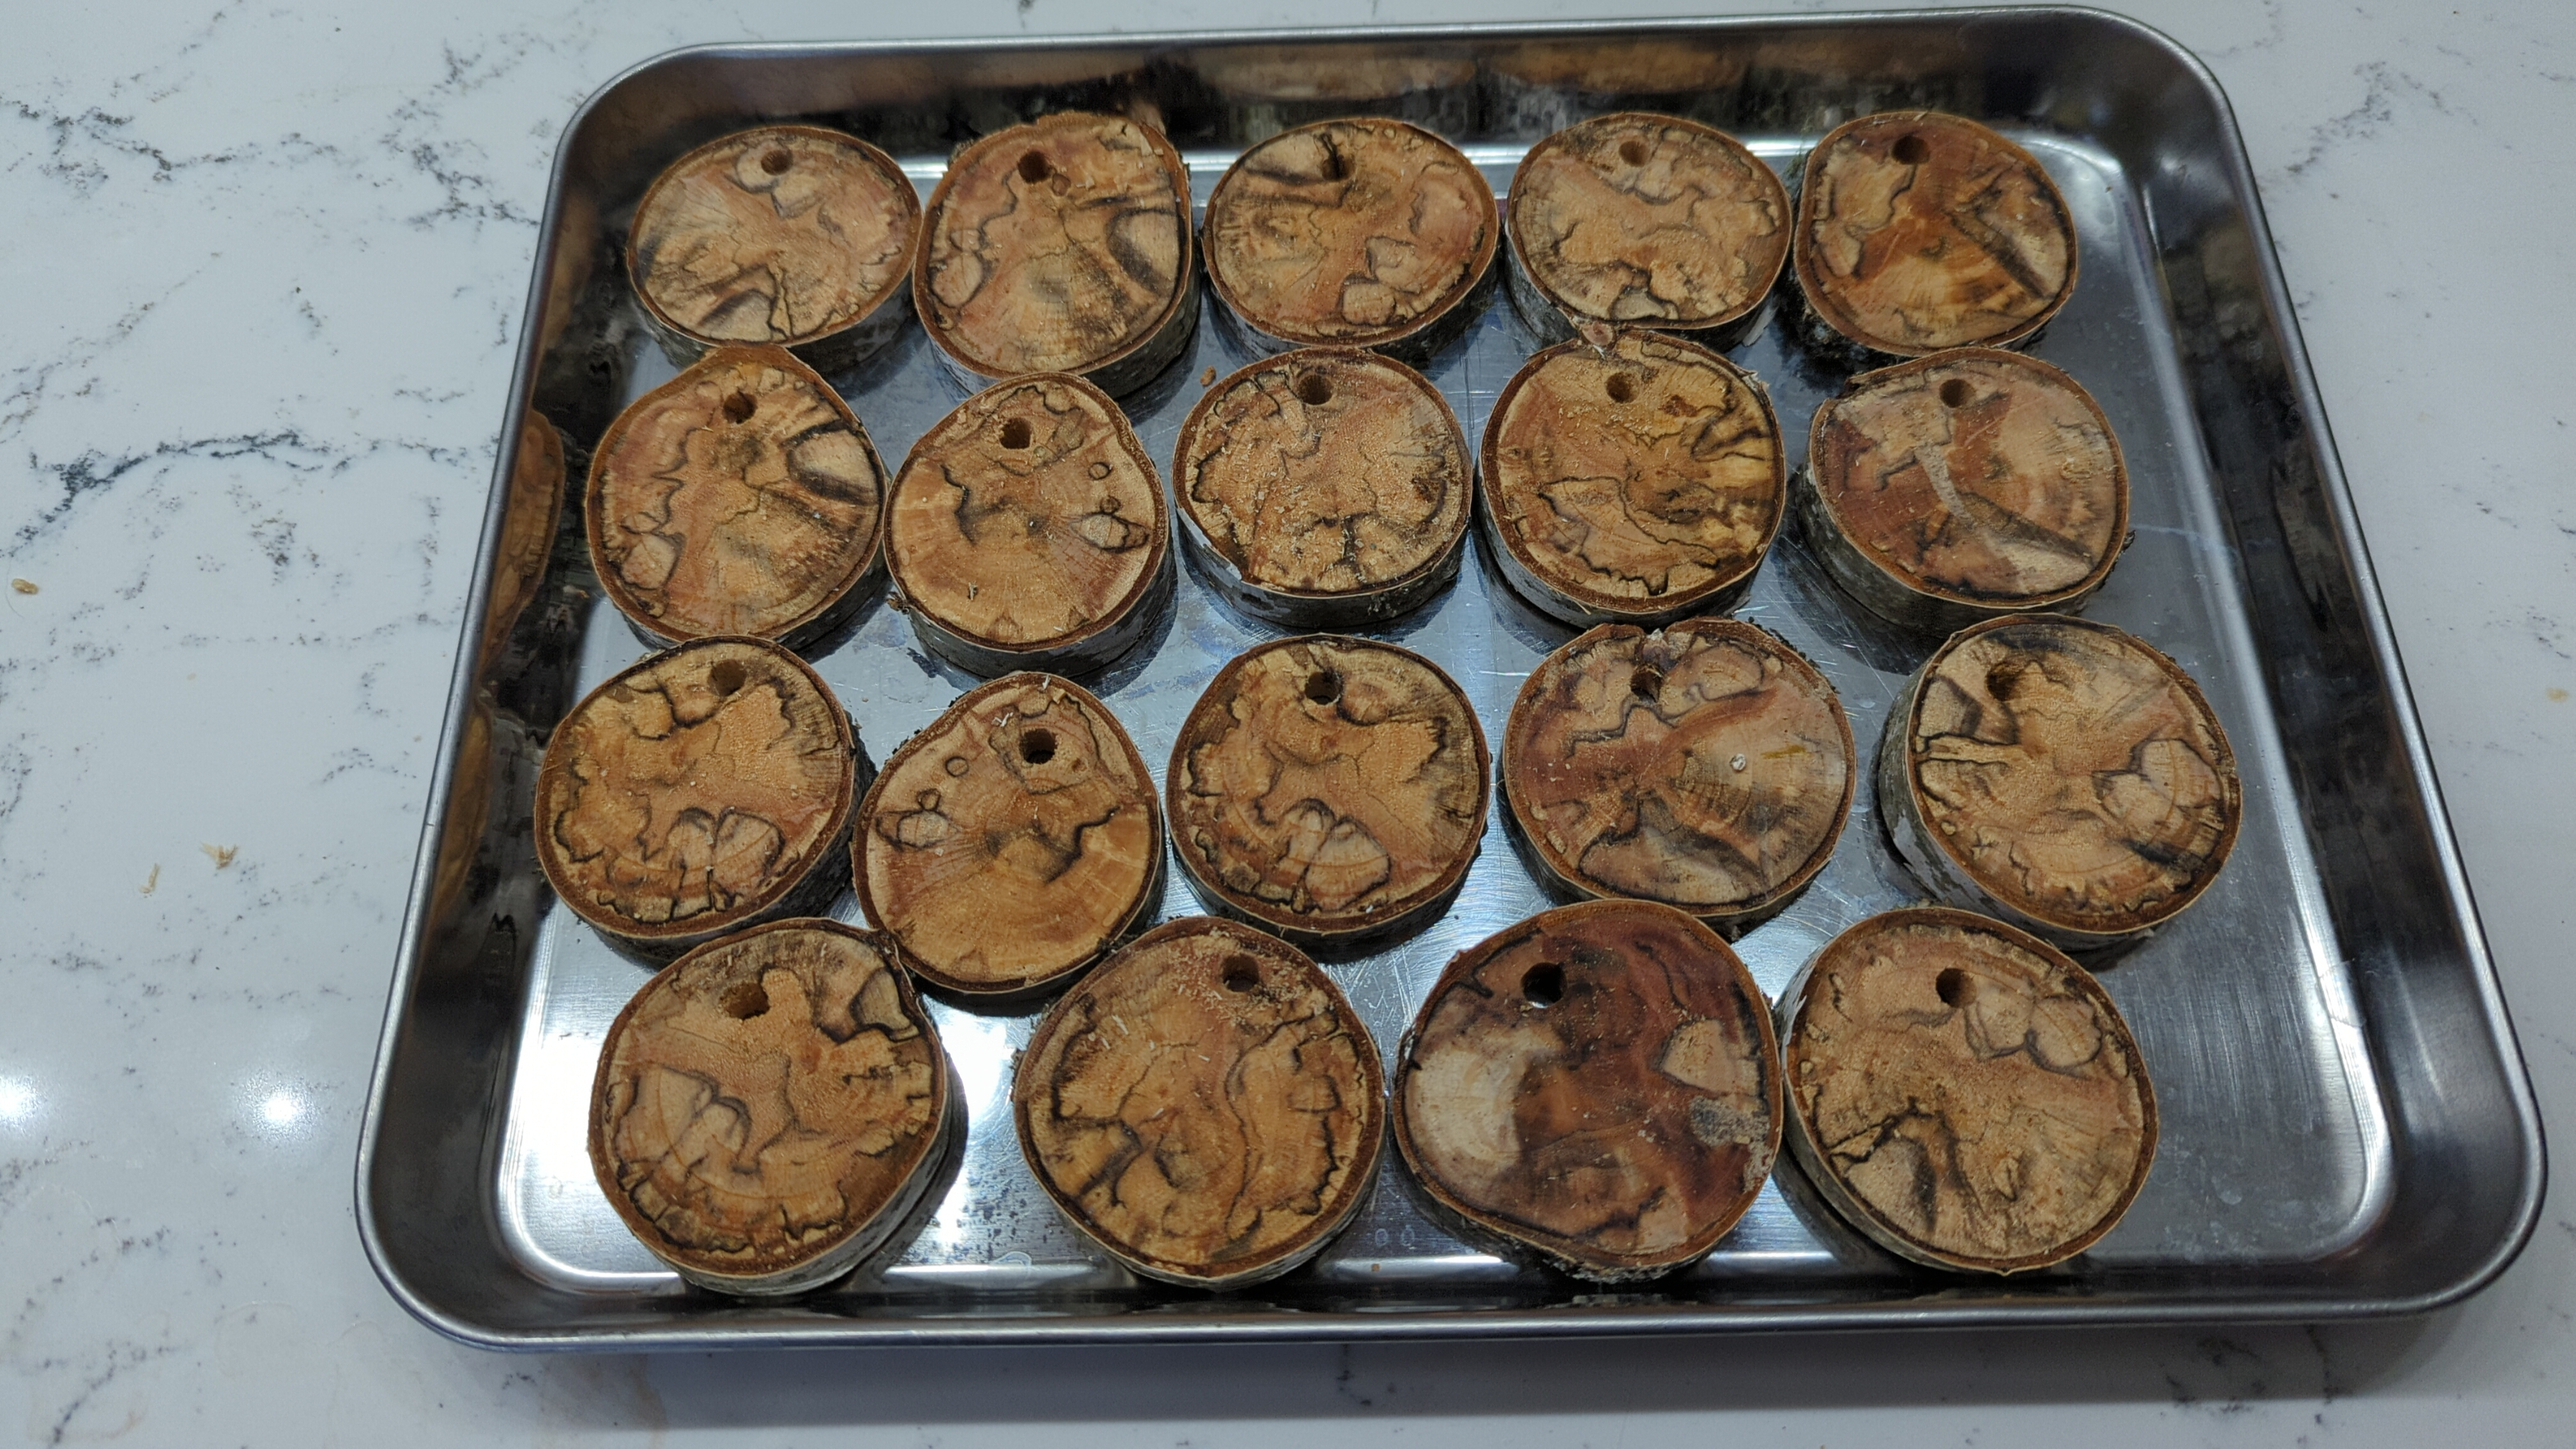
To cut the log into pucks, I used the circular saw to slice pieces off in the same way that you might cut a loaf of bread. I used clamps to hold the logs in place while cutting, except for a few cuts where I also stabilized the log with my left hand and ran the saw with my right hand. The circular saw needs space on either side for the plate and motor, so it’s not easy to use all of the material in a given log. When starting a new log, I found it easiest to slice off the end and discard it, since the exposed end will have been roughed up by the elements. I also found that it’s important to keep the saw blade parallel to the face of the cut as much as possible because the side of the blade can rub against the wood at high speed and cause it to burn slightly, which leaves a black mark. I got into a rhythm after a while and ended up cutting about thirty pucks over two sessions.
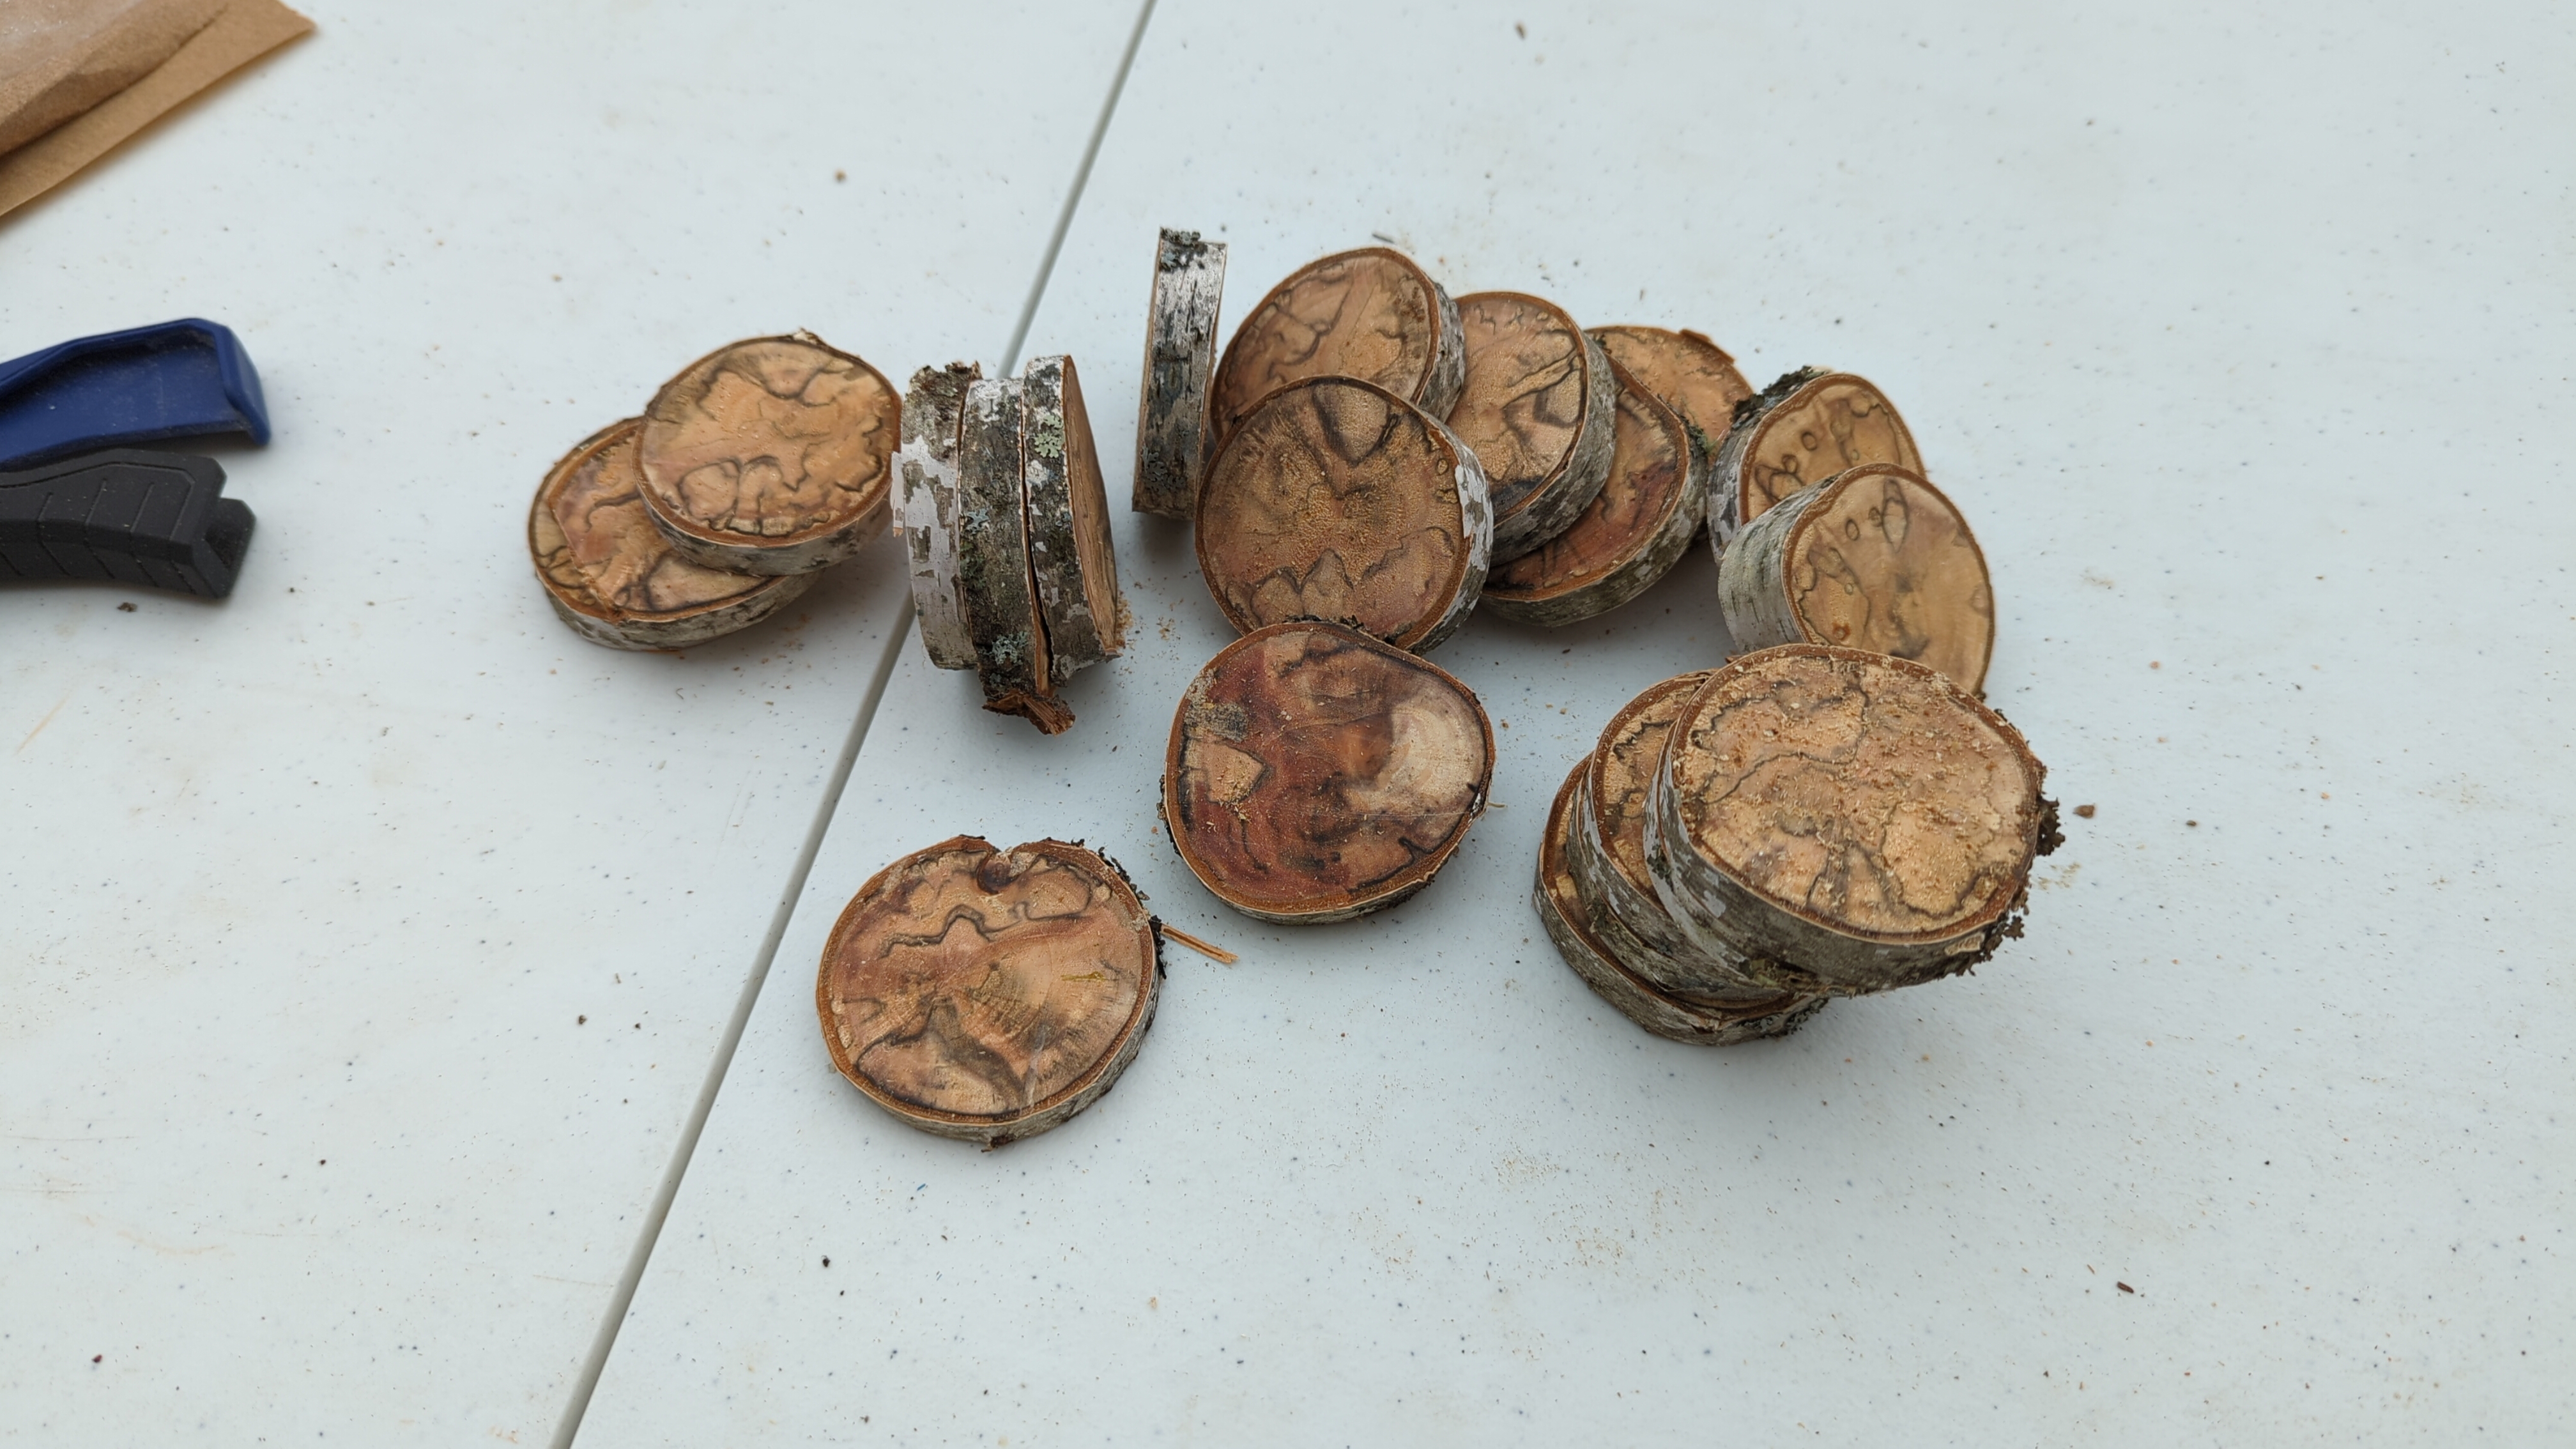
I drilled one ¼” hole in each of the pucks near their edges. I used these holes for the ribbon that connects the ornament to a tree branch. There isn’t much to say here — I just clamped each puck down and drilled through. One or two of the pucks cracked during this process, so I discarded them.
Since all of this wood had come directly from the environment, I knew it was carrying a lot of water. I didn’t want the drying process to affect the ornaments after I had etched them, and I was concerned that it might crack the ornaments or warp the text or designs on them. To avoid this issue, I decided to accelerate the drying process artificially by putting the pucks in my oven at a relatively low temperature for a long time. I still don’t know for sure whether or not this was something I should have cared about, but I supposed it can’t hurt.
I made two batches of birch wood cookies. In both batches, I arranged the pucks on a baking sheet and put them in the oven at 200 ℉ for four hours. I chose this temperature mainly because it’s well-below the autoignition temperature of wood (around 500 ℉) but still significantly above normal air temperature. I suspected that my oven’s thermometer might be off by 10–20% or potentially more at such a low temperature, and I didn’t feel like burning my house down. As for the time, it was totally arbitrary.
I don’t have the equipment to properly measure the absolute moisture content of wood, but I at least measured the masses of the two batches before and after drying. Before drying, the masses were 249 g and 307 g, and after drying they were 126 g and 170 g, for mass reduction of 49.4% and 44.6% respectively. I flipped the pucks during the second batch, thinking that maybe that would let more water escape. It seems like that might not have been the case, although there were more pucks in the second batch too. In any case, the mass reductions were significant, and I felt they were enough to be satisfactory. Time will reveal whether or not additional drying will mess up the ornaments.
Before etching, I sanded the faces of each puck by hand with medium-grit sandpaper. This knocked down the roughness left over by the circular saw and cleaned up some of the marks on the wood.
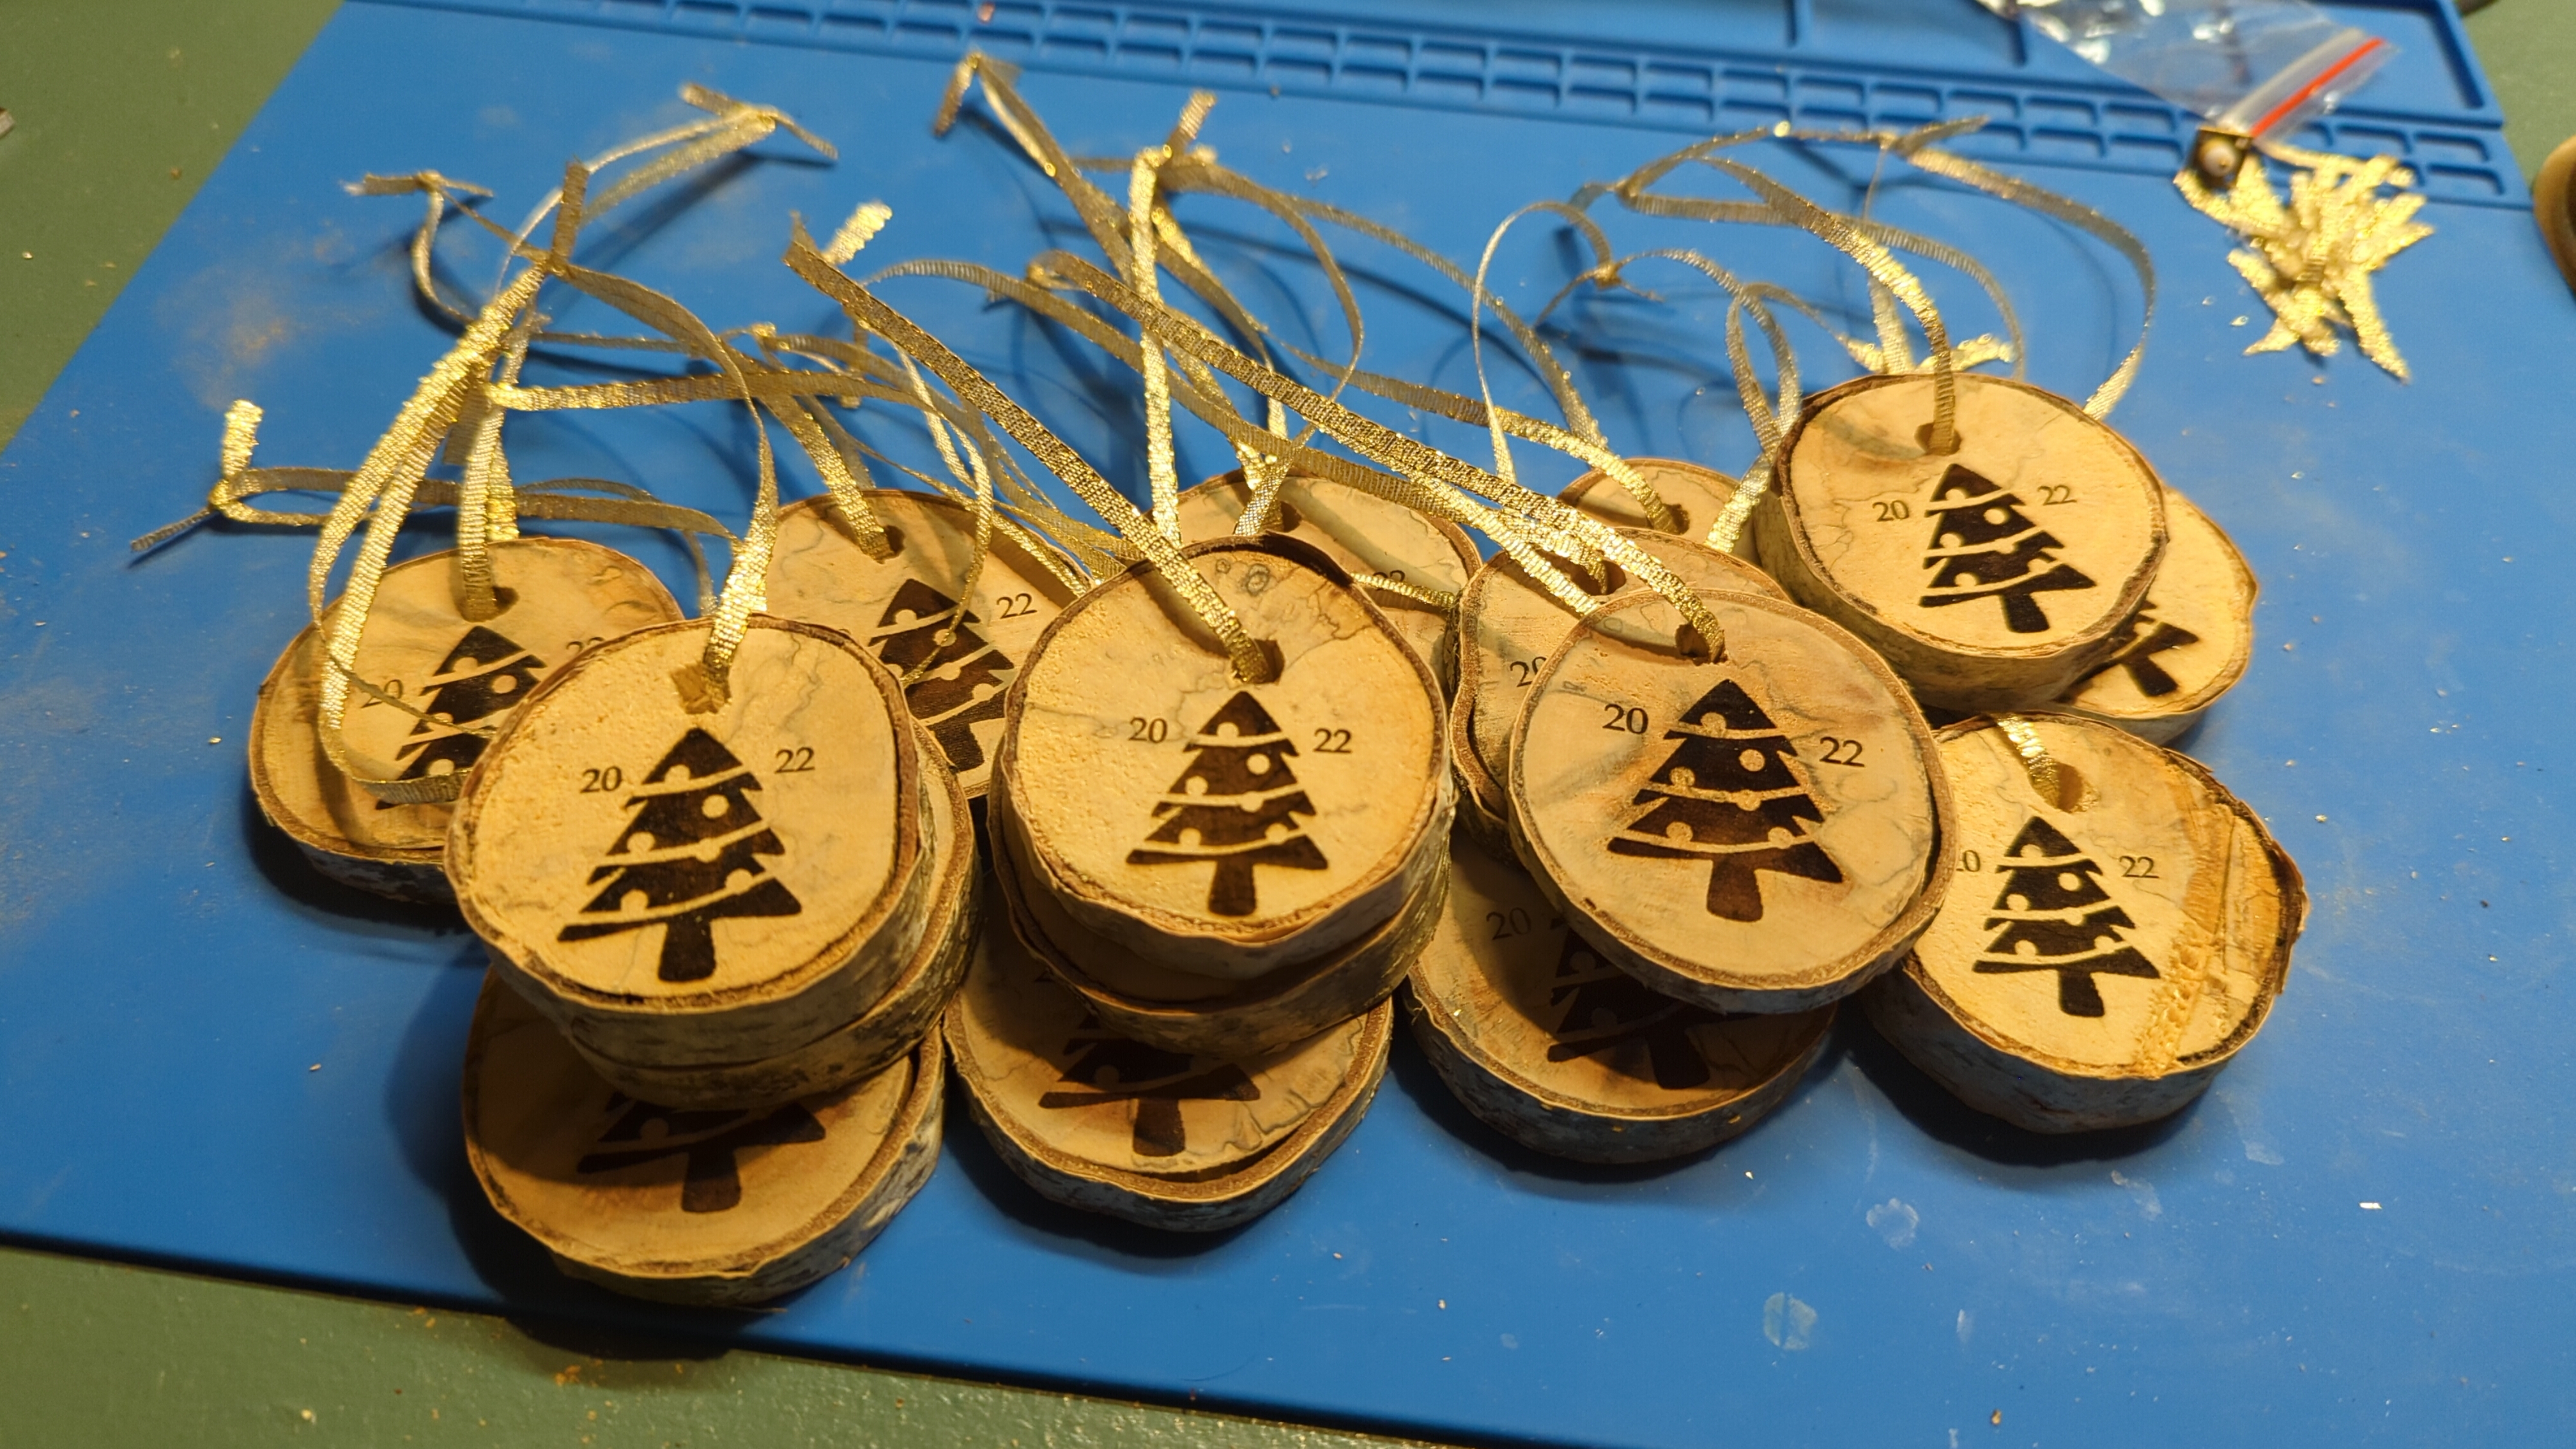
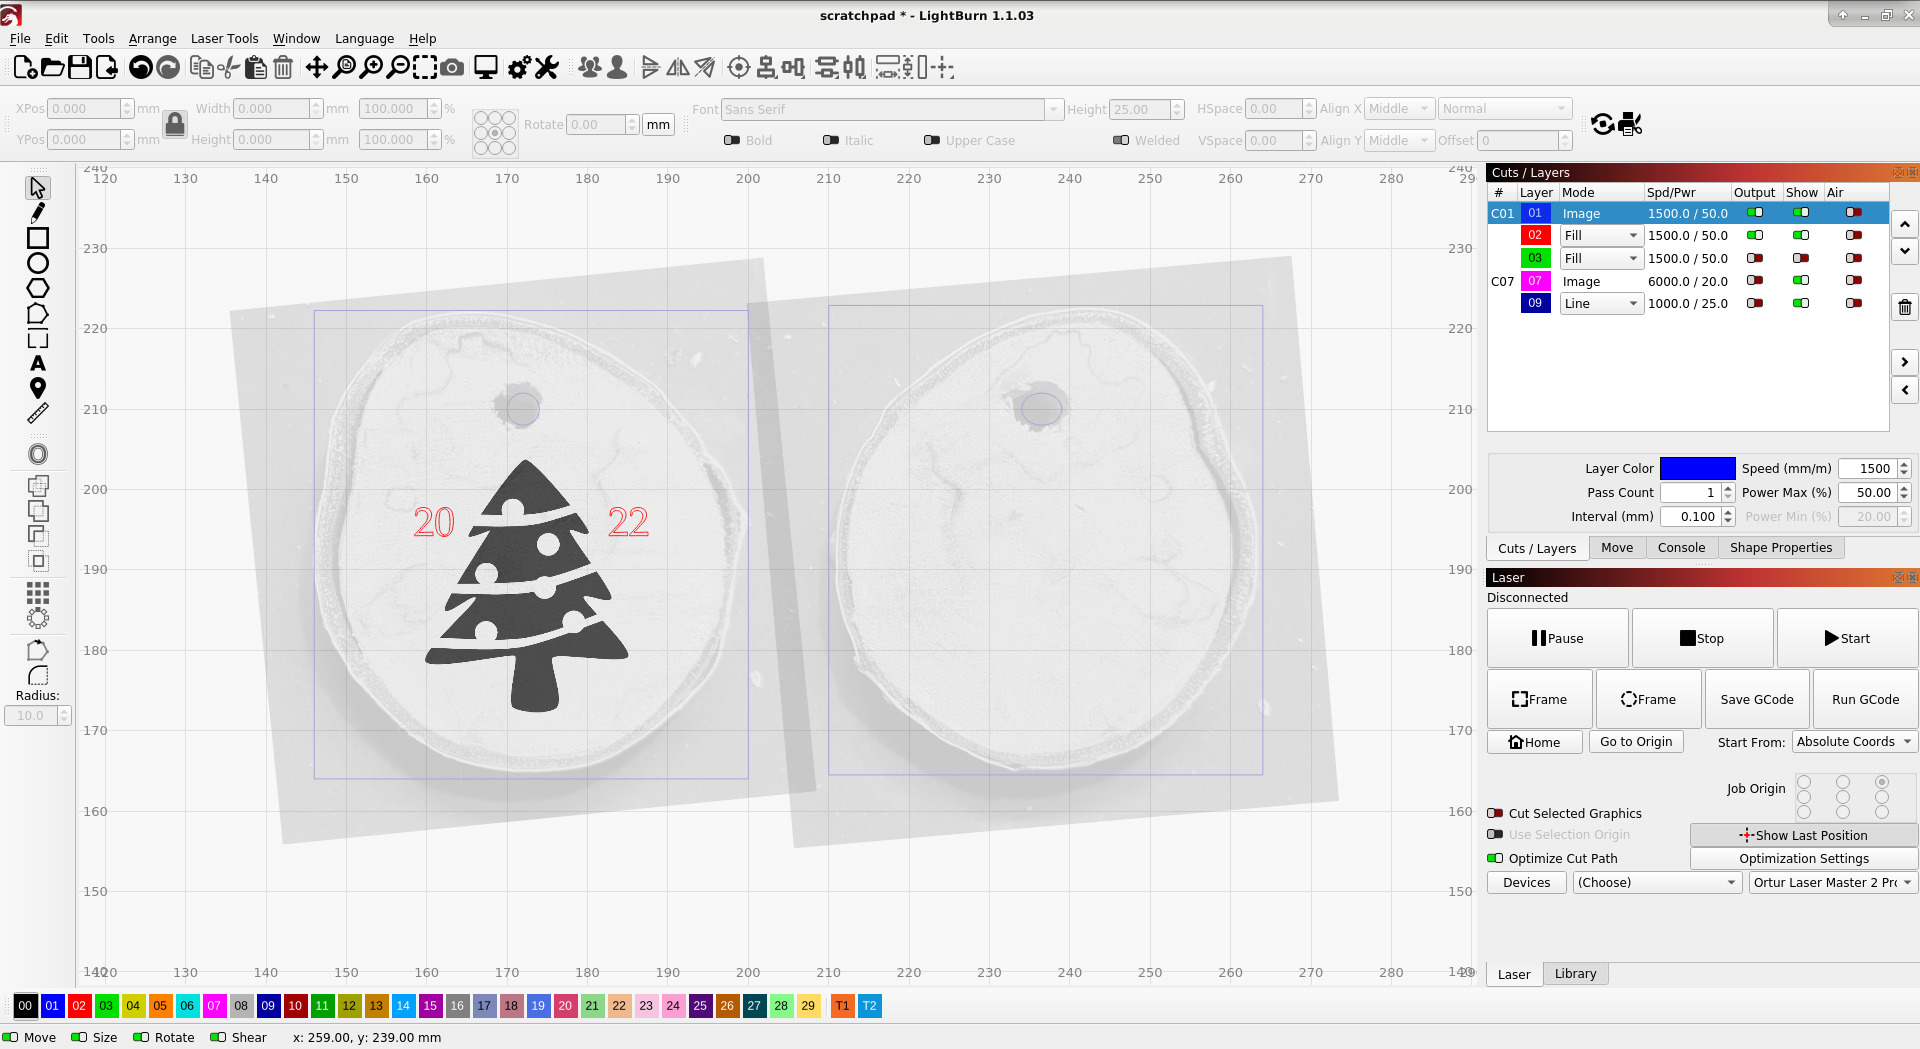
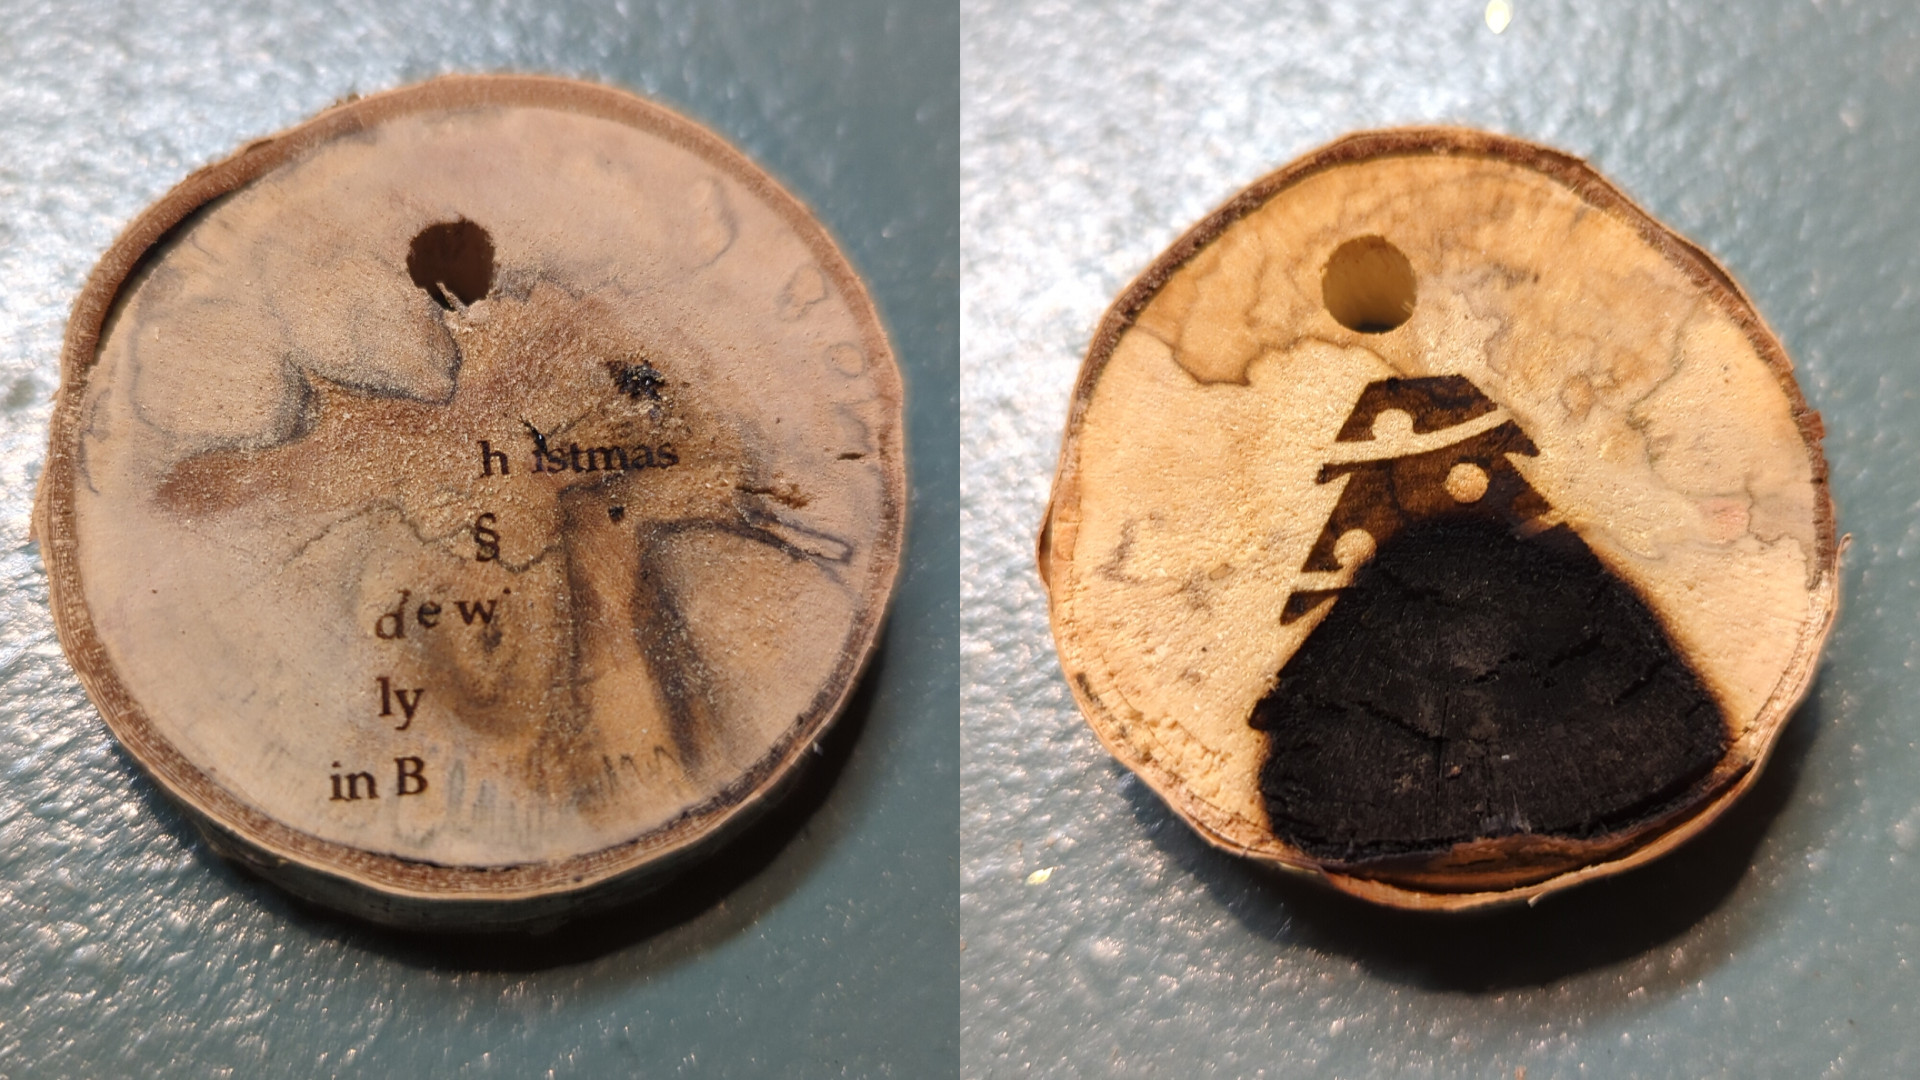
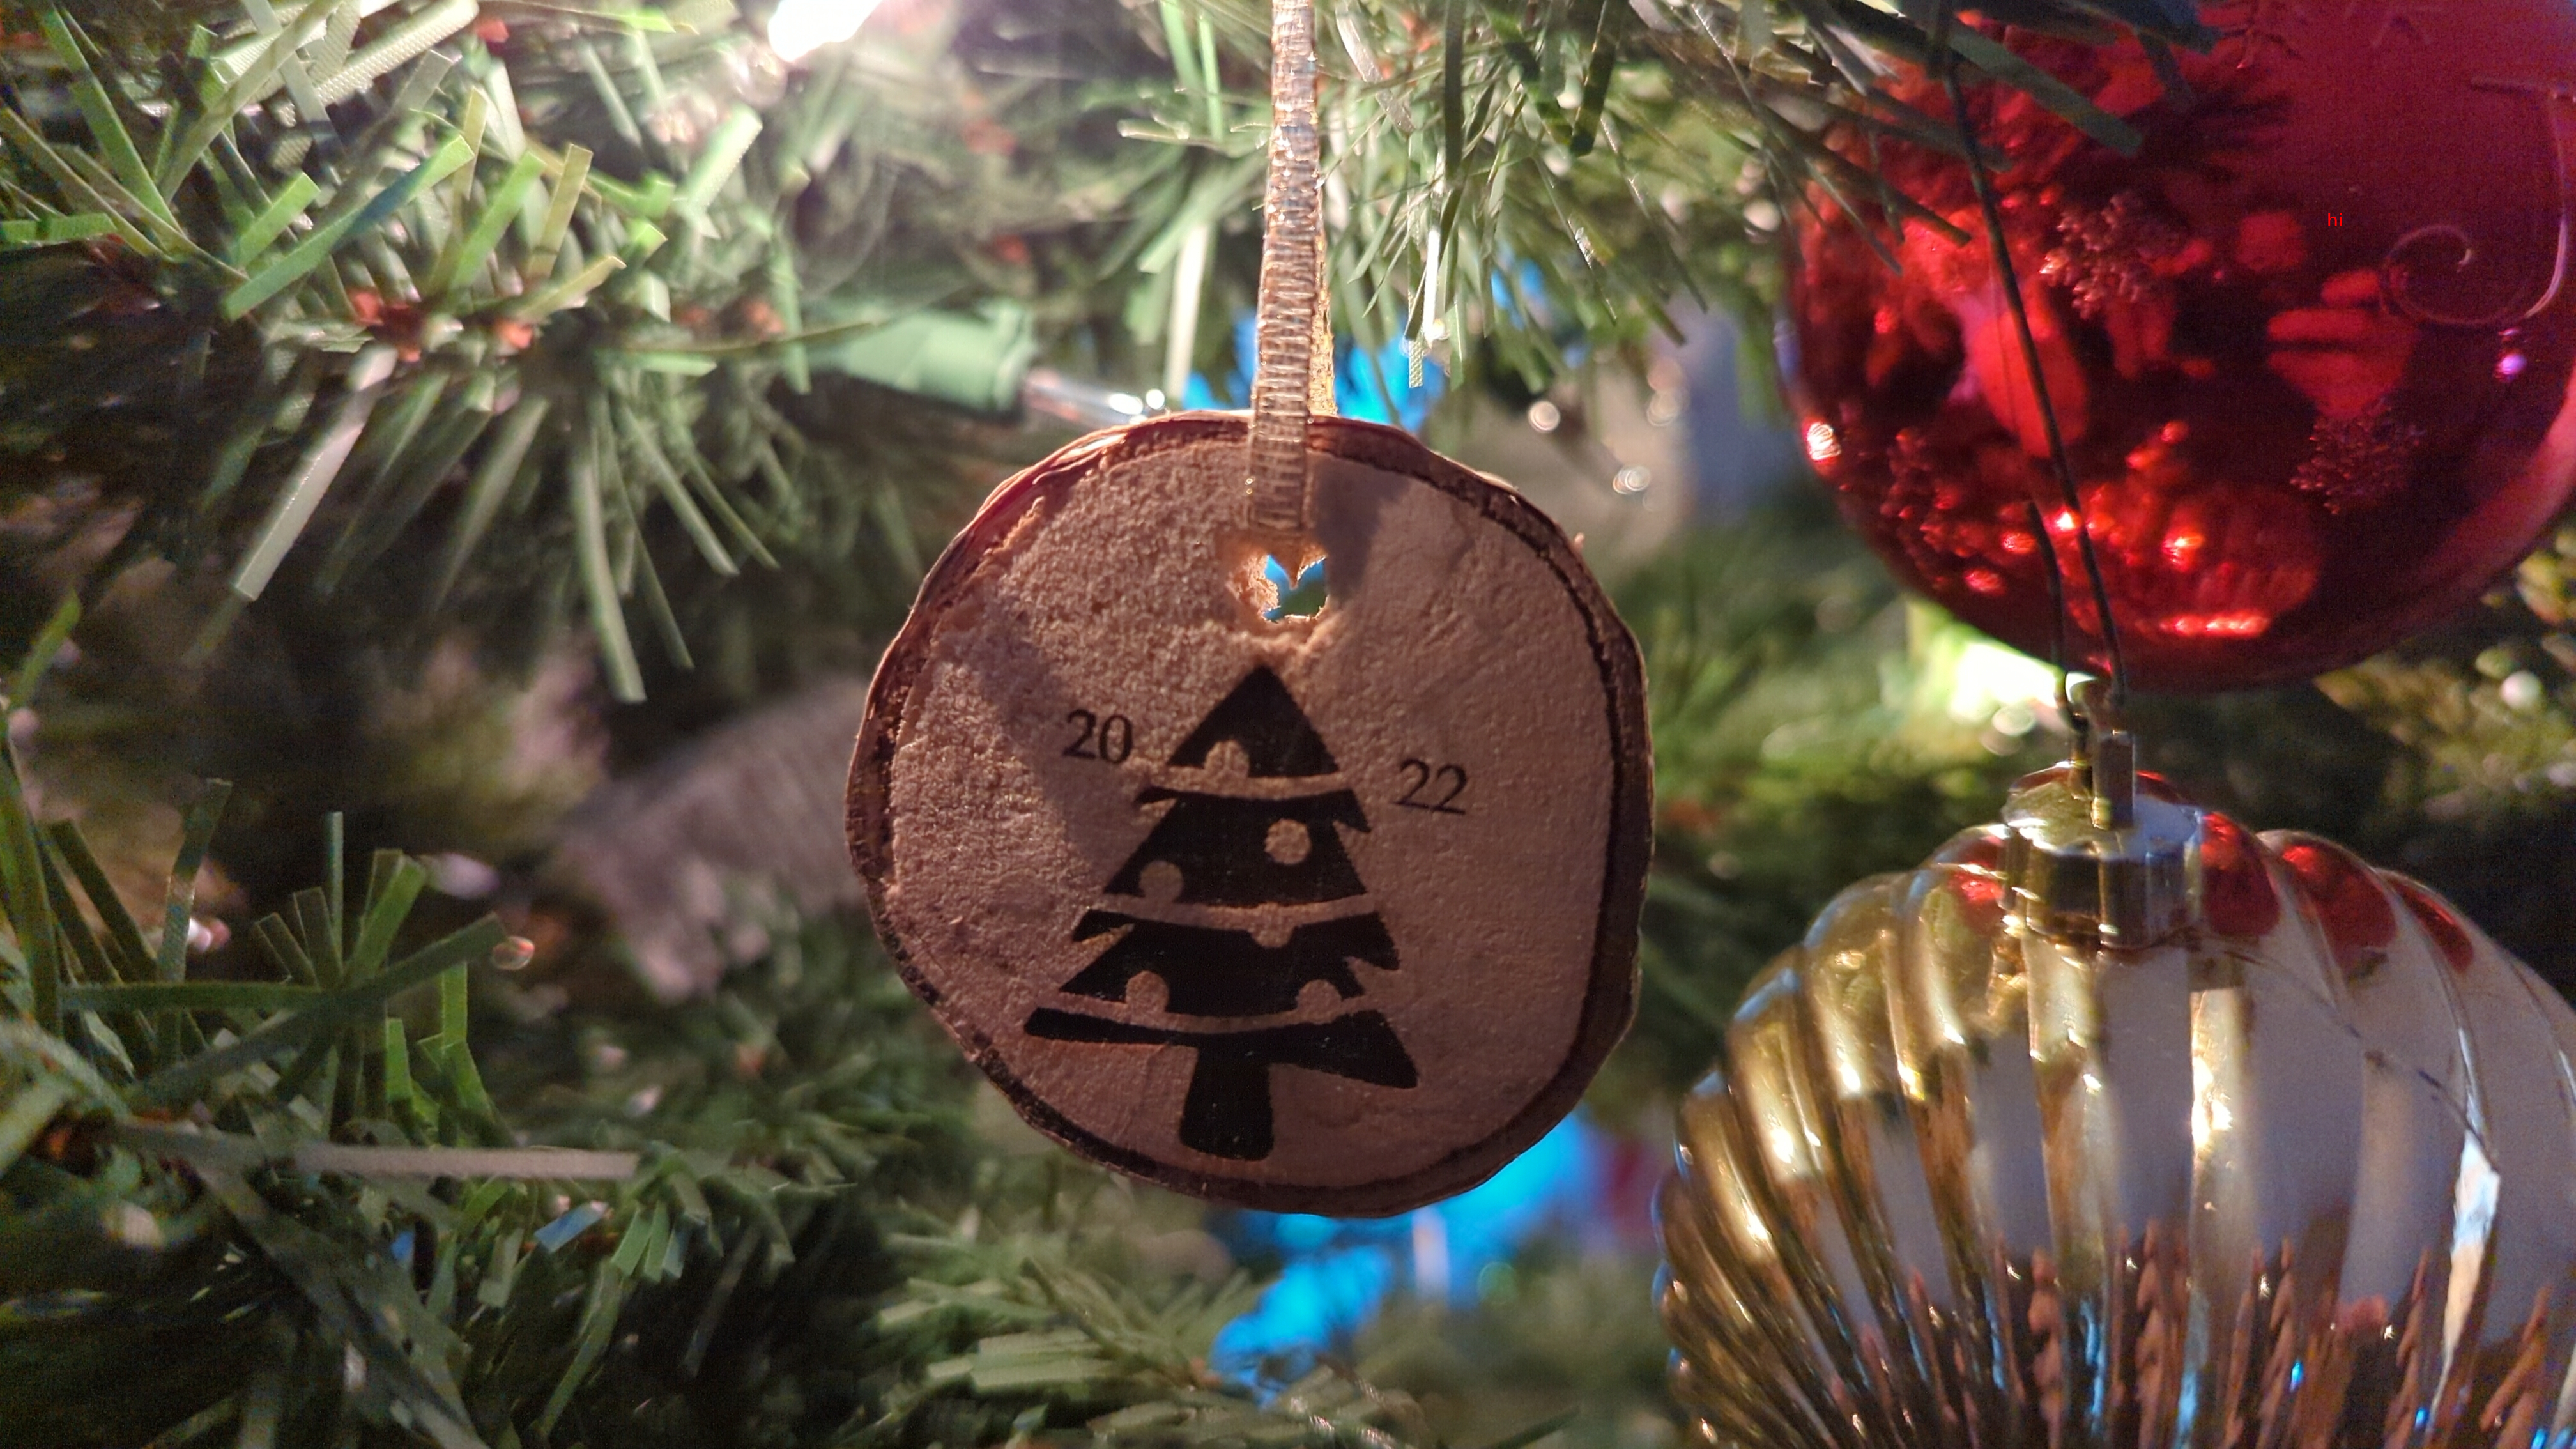
I found a public domain image of a Christmas tree and made that the center of the design on one side, with the year printed across the two sides. I also etched personalized messages on the back. For all laser operations, I used LightBurn, which is worth more to me than the $60 I paid for it.
The process of aligning the pucks with the laser wasn’t trivial. The problem is that the laser operates in its own coordinate space and doesn’t know anything about where the workpiece is. I don’t have a fancy CNC probe that can find the workpiece automatically, so I need some manual method. I tried aligning the workpiece with the laser by simply placing the workpiece somewhere and then moving the laser and the workpiece until they were in agreement. This was tedious and prone to error, so I moved on to something more repeatable.
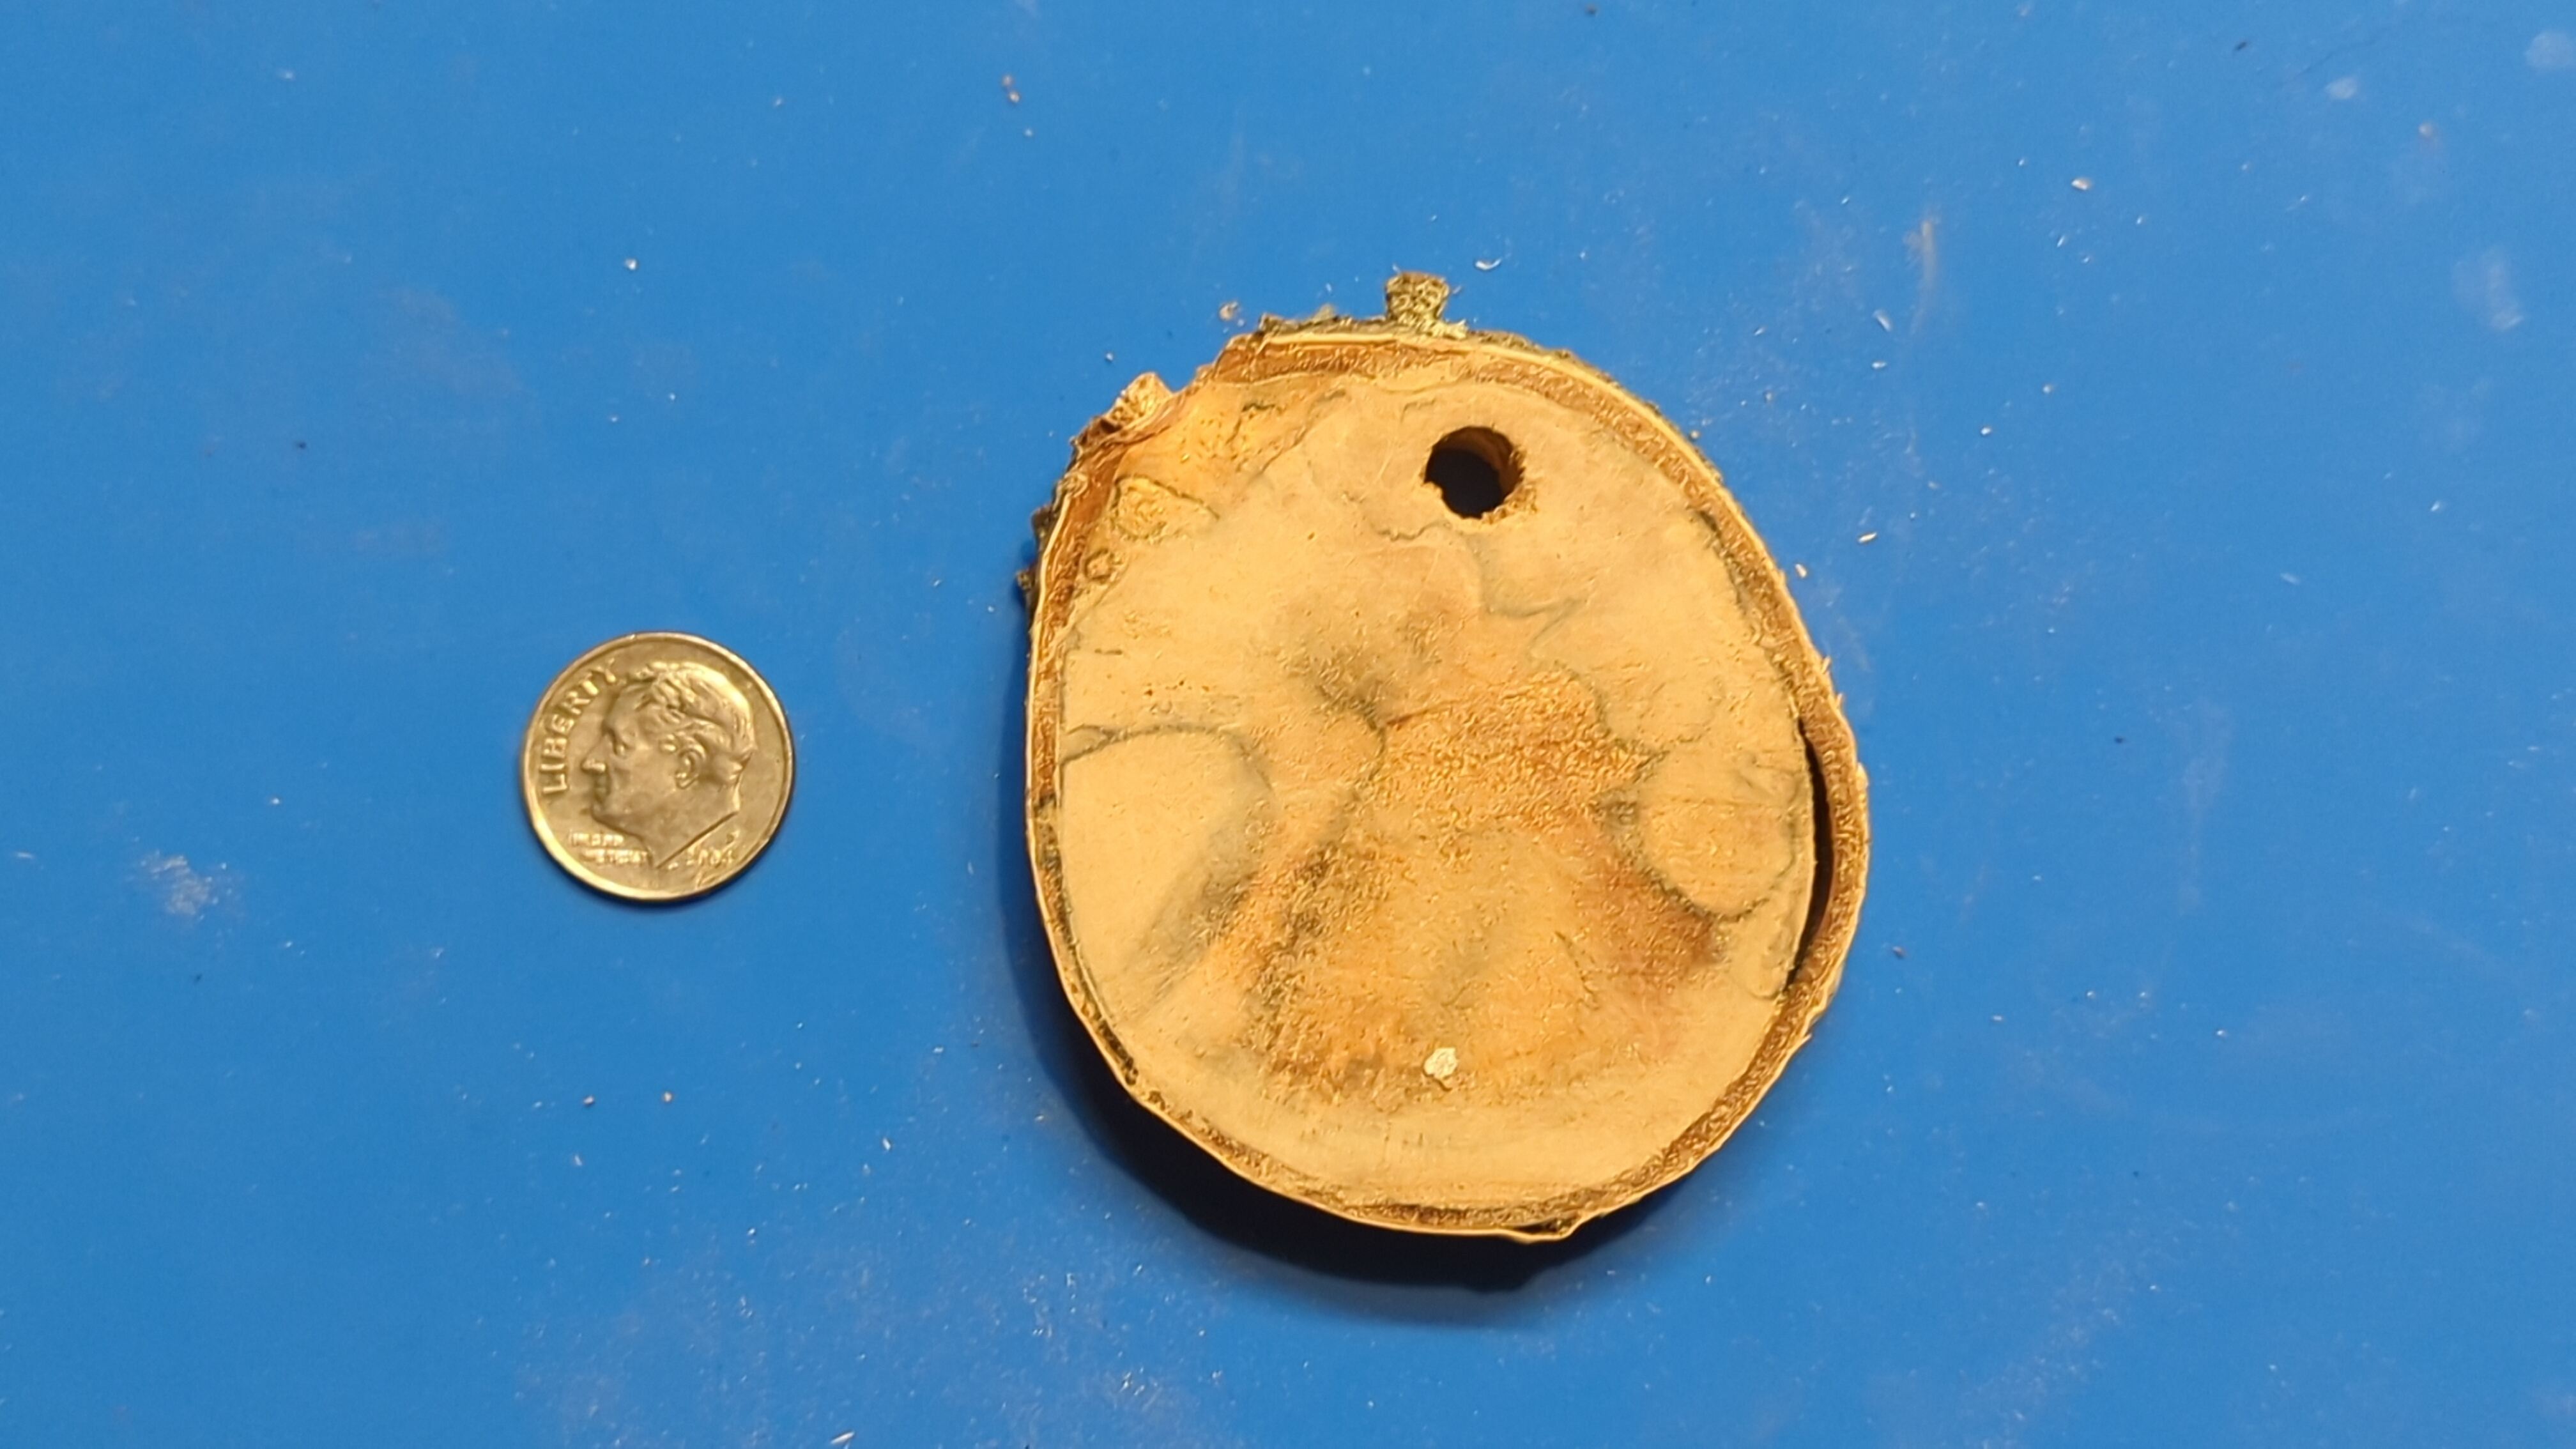
First, I took photos of the front and back of each puck with a dime for scale next to it. I reduced the effects of the camera’s focal length by moving the camera further away and zooming in. Then, I used the known dimensions of the dime in reality and in each image to scale the image to roughly real scale. That is, after the scaling operation, the images had a px/mm value that matched the real world at the plane of the dime, which was close enough for this application. Then, I cropped out the dimes and left just the pucks.
Now I had images of the fronts and backs of each puck at roughly the right scale (probably within 5%). I imported each pair of images into LightBurn and traced the edges and the holes in a new layer. I laid down some scrap cardboard and etched the traced edges into it. This gave me a clear outline onto which I could place the particular puck I was working on. It was important to not move the cardboard, otherwise the alignment would be lost. After some fine tuning by eye and by hand, I etched each face of each puck with the appropriate message or design. Since each puck was a different size and shape, I needed to modify the size and position of each message or design.
This was also tedious and certainly took a lot of time, but I think it was more reliable and repeatable than unguided alignment. It would have been useful to have some kind of probe or maybe a camera that could feed into LightBurn and let me place the etchings directly onto the workpiece, wherever it might be. The fact that every birch puck was different meant that I had to repeat this alignment process for every ornament.
There were a few minor issues with the etching. Sometimes the laser would collide with the surface of the puck and move it, ruining the alignment and the etch. This happened once or twice, and it was always because I didn’t check that the laser would clear the puck in all positions. The faces of the pucks were usually reasonably flat but not parallel to each other, so they would often be off-axis with respect to the laser’s workplane. This wasn’t usually an issue because the absolute deviation wasn’t typically large compared to the laser’s focal region. The other problem was that in one case the laser caused a puck to start smoldering. I’m not sure why this happened, since I didn’t change any power or speed settings, but maybe the composition of that puck was somehow different. I quickly aborted the etch, removed the puck, and doused it with water.
Throughout the etching process, I wore a mask to try to protect myself from the fumes. In the future, I’ll need to buy a proper respirator and maybe find a way to put the entire laser in a sealed enclosure with good ventilation and filtering.
After etching, it was simple enough to cut several lengths of ribbon, thread them through each ornament, and tie them into loops.
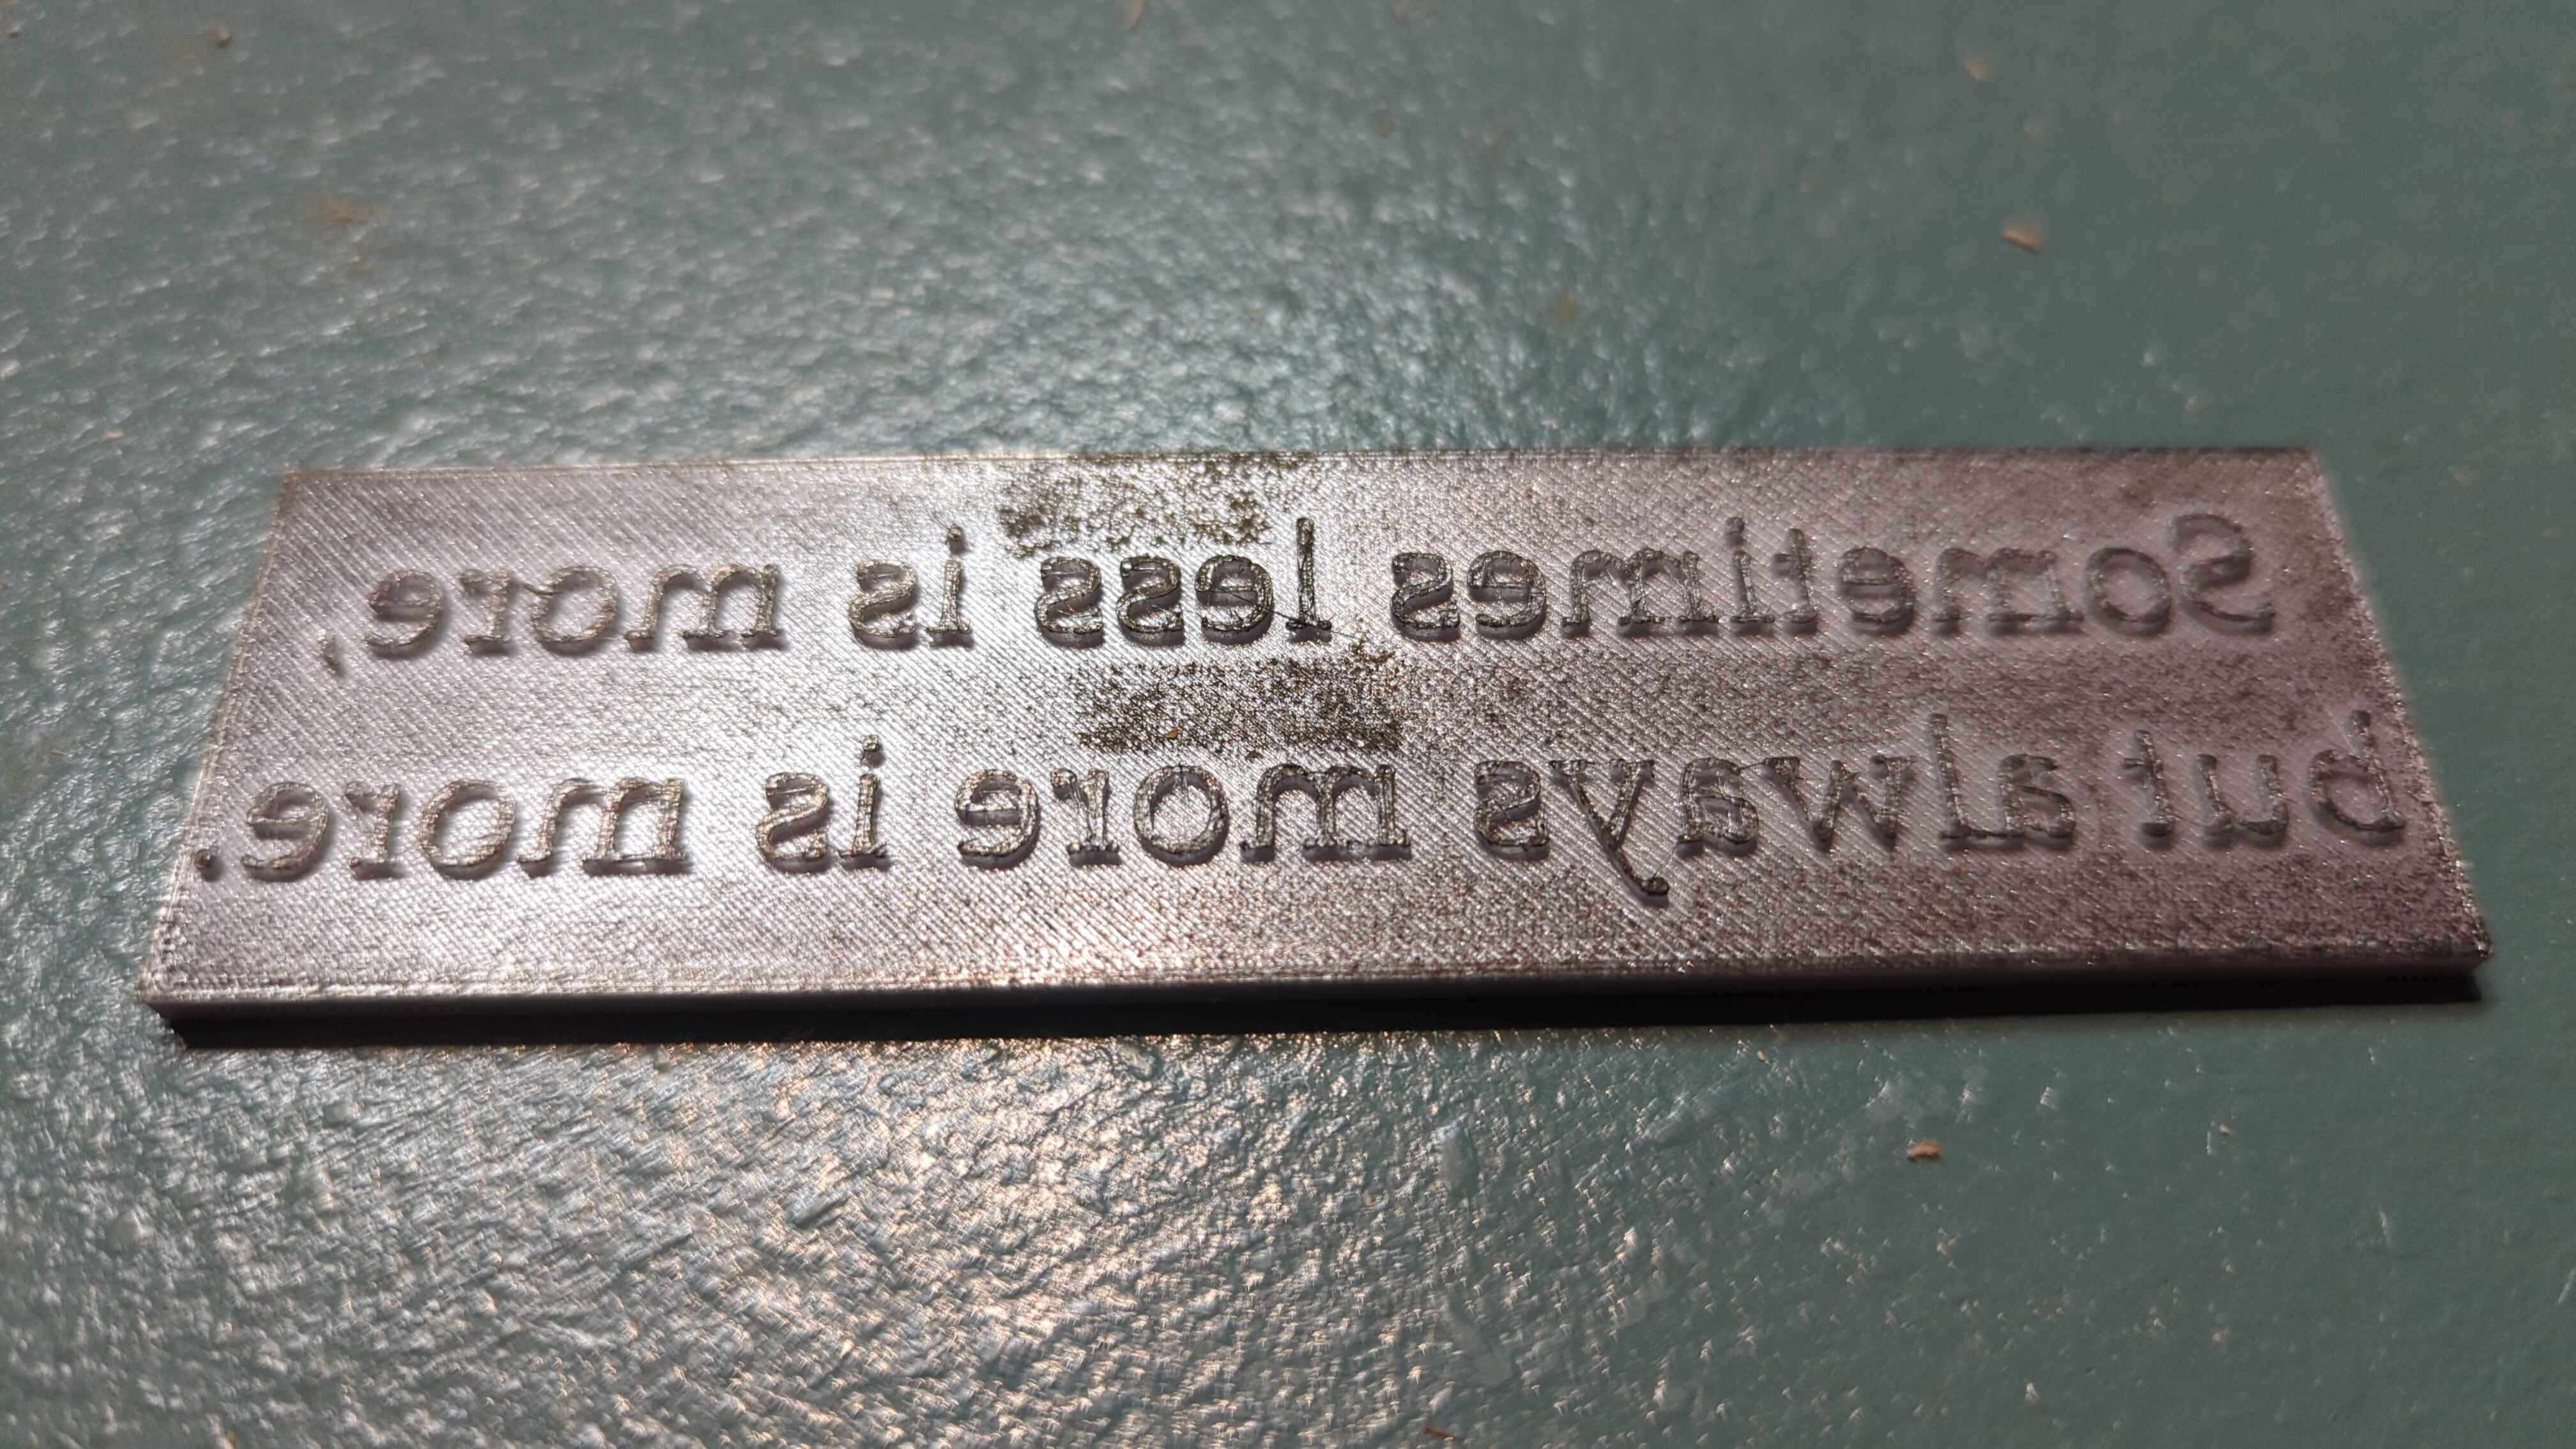
For a little while, I thought it might be possible to 3D print stamps that I could use to press ink onto the birch pucks. This didn’t work because the PLA didn’t pick up the ink from my ink pad. I’ve heard that printing in flexible materials can yield better results. Someday maybe I’ll try that, or maybe I’ll try milling some stamps out of rubber stock or something. The uneven surfaces of the pucks might have foiled this plan anyway, had I gotten further with it.
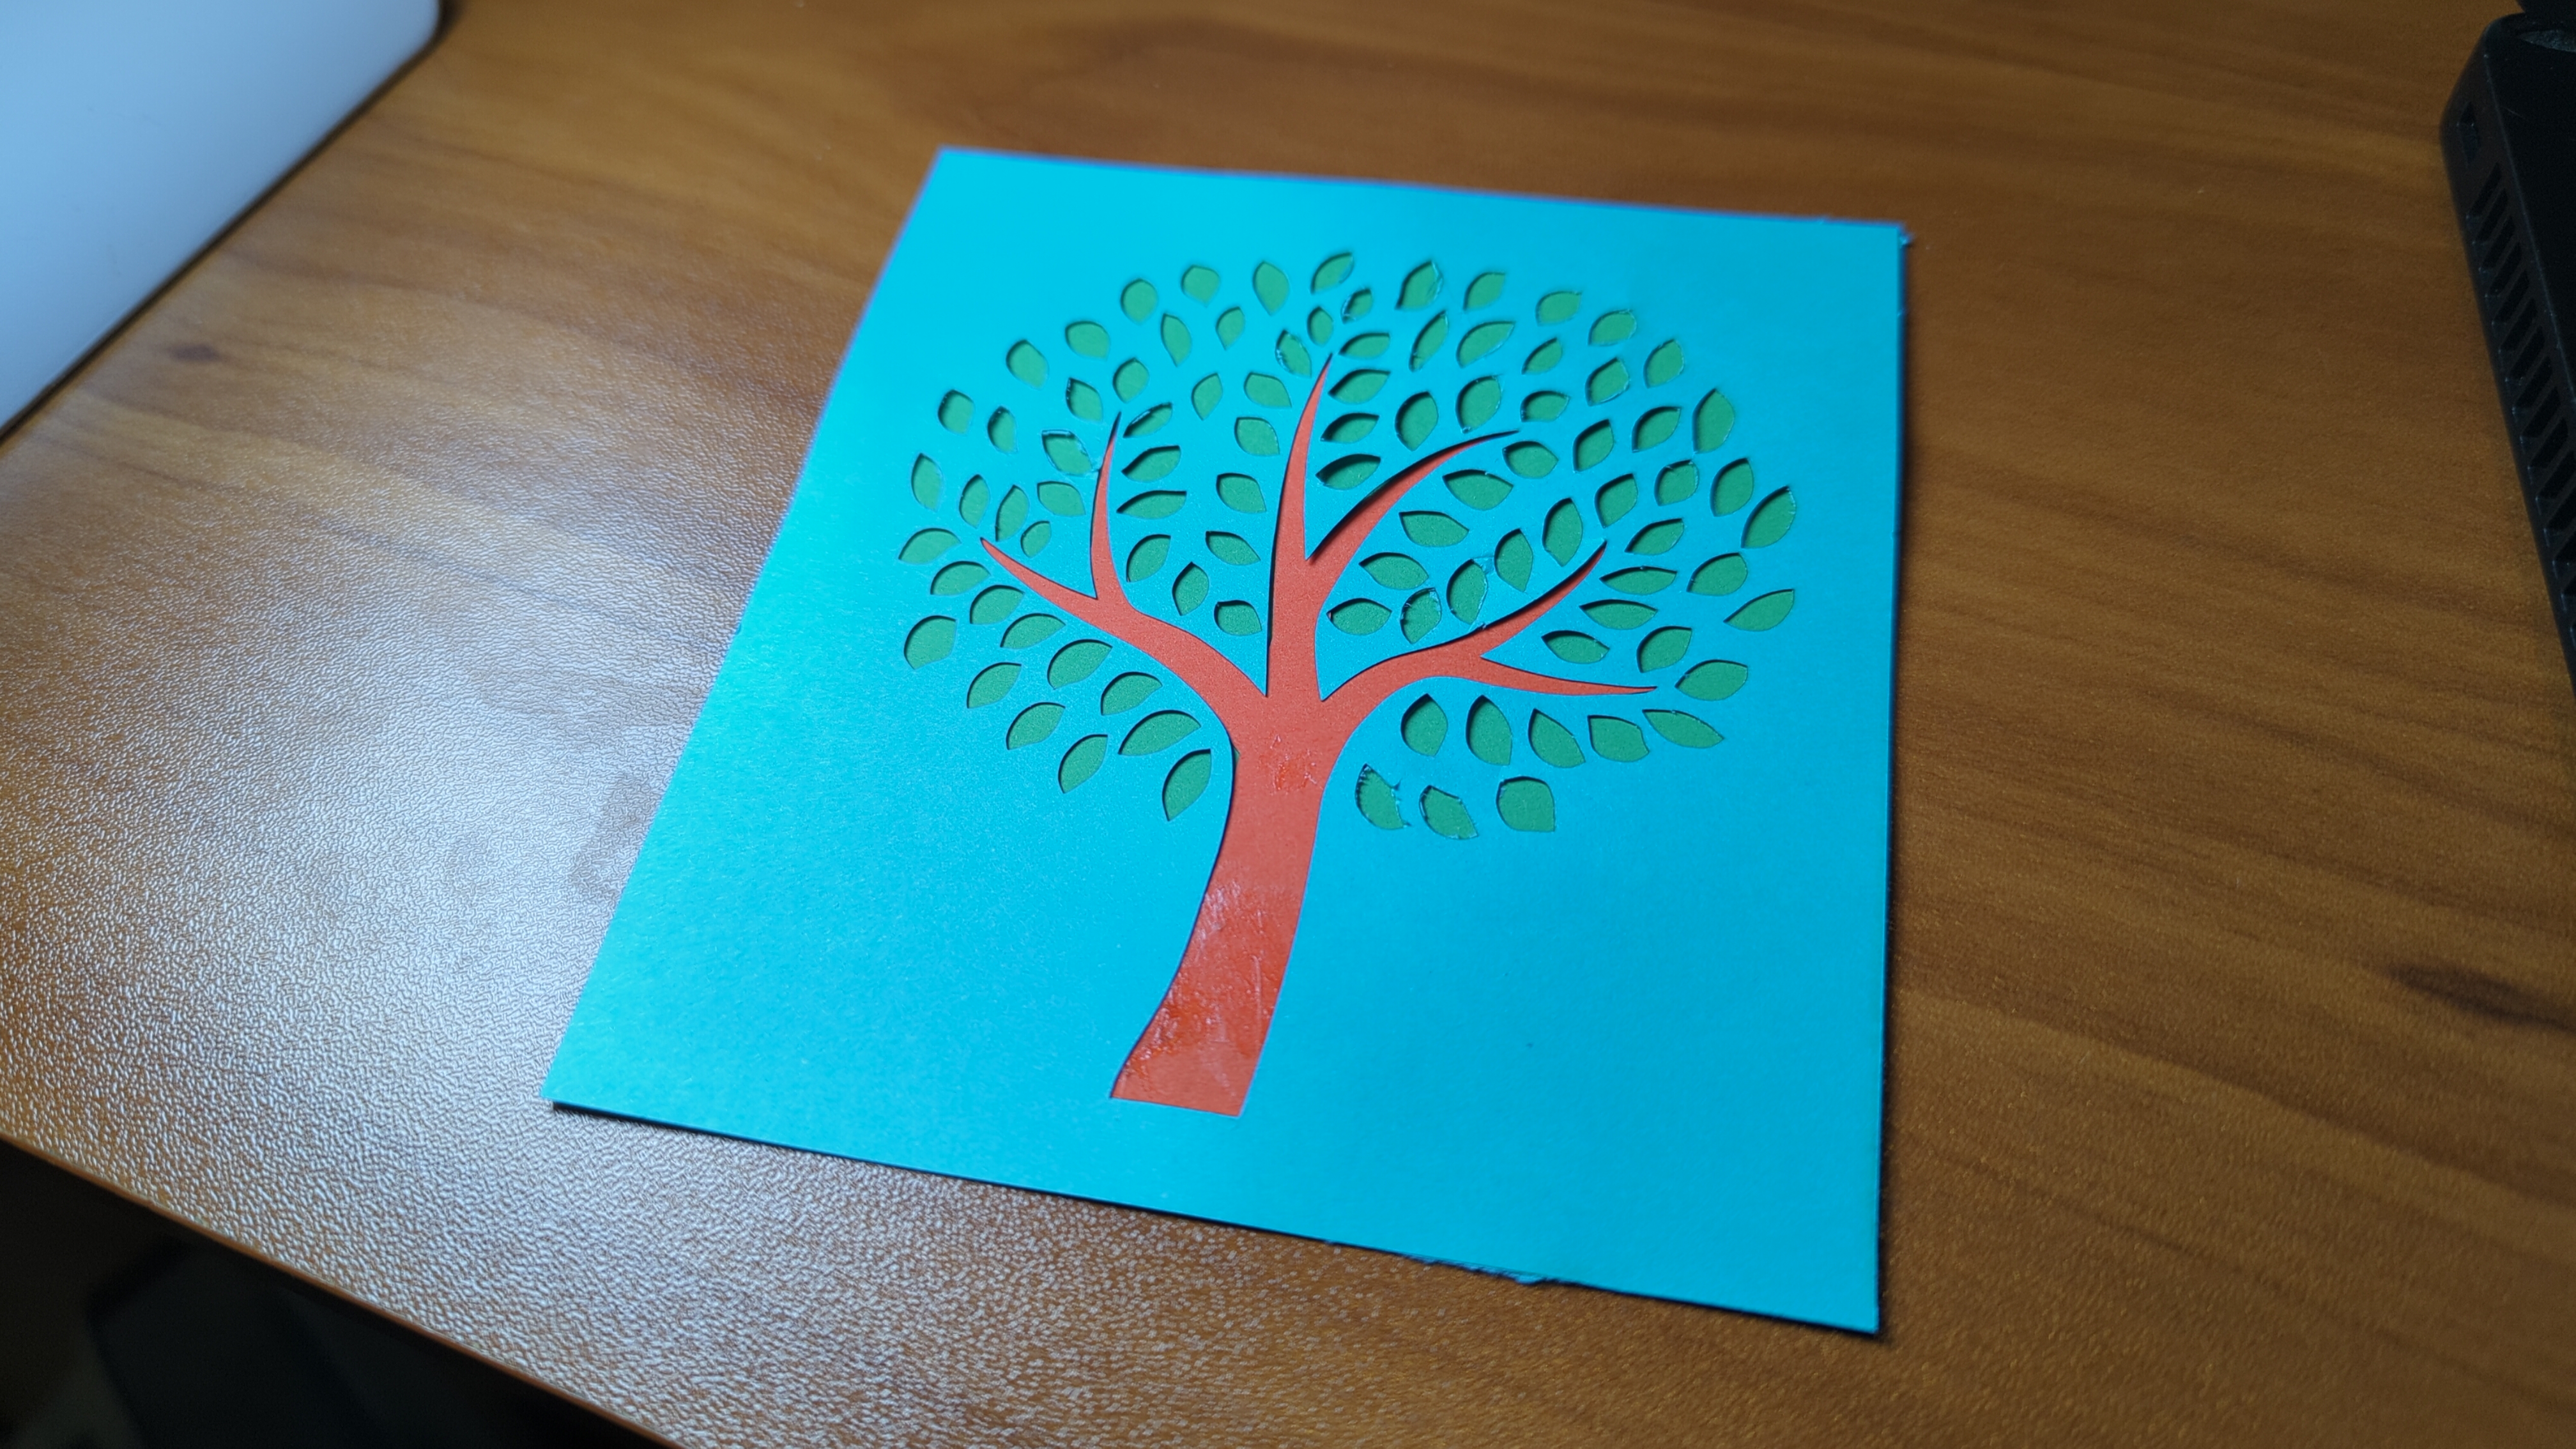
This is more or less the inverse of a stamp. By laser cutting shapes in paper, I can apply ink to the puck wherever I want (at least, in principle). I have some previous experience laser cutting paper, but I didn’t even try this because I guessed that it would be tedious to deal with shapes that contain other shapes. Take the letter “e”. If you want to stencil it, you have to have a little bridge between the outer stencil body and the inner bit, otherwise the stencil will consist of multiple pieces that need to be aligned. Incidentally, the technique shown above does work pretty well for custom cards.