2022-10-18
Amateur radio (better-known as “ham” radio) is a global hobby for people who like to build and use radio systems. The ham radio community is almost as old as radio technology itself. Most nations have a governing body that sets the rules for all users of the radio frequency spectrum, which is important because the spectrum is a shared resource. A malicious or careless operator can easily cause harmful interference that makes parts of the spectrum unusable in their area. Ham radio operators are licensed by their nation’s governing body and are subject to their rules. In exchange for compliance with the rules, licensed operators may build, buy, or trade equipment and use it to access the RF spectrum for many different purposes. One common use of the radio hobby is for emergency communication. When other forms of communication are inoperable due to natural disaster or equipment failure, radio persists.
Hams often organize events called “nets”. A ham net is nothing more than a time and a frequency. Think of it like a recurring meeting on the air. The purposes of most nets are to test radio equipment, practice orderly communication for emergencies, and have fun. Any ham wishing to participate in the net may do so by simply tuning their radio at the correct time and politely following the rules of the net. Nets are usually “controlled”, which means that there is a designated ham who transmits first to start the net and prompts each participant for comments. In most of the nets I’ve been a part of, the comments from hams are usually pretty uninteresting, but that’s not really the point of most nets. The main point is to make sure the participating hams are able to make efficient use of the shared radio spectrum resource for emergency communications. That way, hams can be ready to relay messages when all other methods fail.
In my area, several hams organize “weather nets” during snow storms. The purpose of these weather nets is to report the ambient conditions at various times during the storm throughout an area to the National Weather Service. Most of the data we provide only confirms what the NWS already knows, but the one parameter that they need the most help with in a winter storm is snowfall. Despite the proliferation of impressive storm monitoring technology, the best way to measure snowfall in a given area is still with a flat board and a ruler.
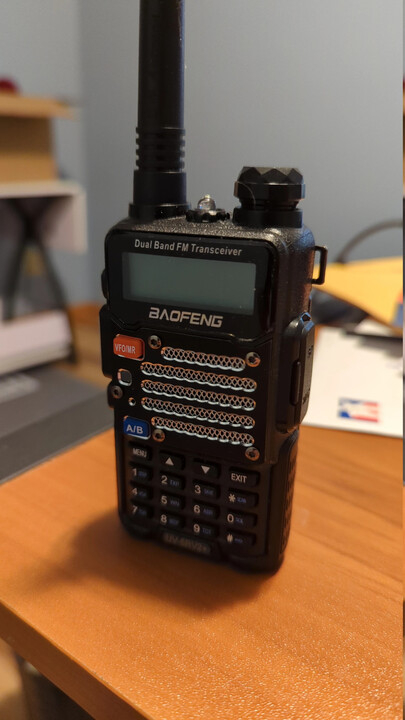
Last year, when I started participating in the weather nets, I identified the snowfall measurements as important and made it my business to report them above all other measurements. Measuring the snowfall isn’t that hard. All I had to do was lay out something flat before the snow began and then measure the accumulation just before the net. I quickly learned that my radio would only work outside because of its relatively low transmission power (5 W) and poor antenna. While standing in the cold during a harsh winter storm, I decided that I would come up with something more permanent that I could operate from inside for next year. Well, next year has arrived, so it’s time to build an antenna.
During transmission, antennas have one job: convert electrical energy into RF energy. This is similar to what a speaker does, except its output is sound energy instead of RF. In both cases, the input is an electrical signal, which is a voltage that varies its magnitude in order to encode information. For a speaker, the electrical signal creates a force that acts on a large, lightweight element that is free to move. That element moves according to the contents of the electrical signal, and it pushes the air around it in the same way. The rapid movement of the speaker element creates pressure waves in the surrounding air, and the waves begin moving away from the speaker, taking energy with them. These waves are the sound that we hear from the speaker. In the case of an antenna, the electrical signal moves electrons through a conducting material, and the moving charges induce changes in the local magnetic field. These induced changes begin oscillating in the electric and magnetic fields and move away from the antenna, taking energy with them. These oscillations are more commonly called radio waves.
Both devices are called transducers because they convert the energy in a signal from one form to another. The physical and electrical characteristics of antennas and speakers are important because each design optimizes for a particular range of frequencies. You may have heard that there are different kinds of speakers for different ranges of frequencies, such as woofers for low frequencies and tweeters for high frequencies. Different designs are needed because the better a speaker is at converting energy in one frequency range, the worse it is in other frequency ranges in general. Antennas behave in more or less the same way. An antenna has a resonant frequency where it has the best performance, and its performance diminishes as you stray from that ideal frequency. The goal of antenna design is to produce a configuration of conducting material that has good performance over the range of frequencies that you care about.
While it might be fun to come up with a completely new antenna design, for this project I’d rather replicate a reliable design that I know will work. The ground plane design fits that description. It has a single vertical radiating element and usually four grounded elements that are angled down about 45 degrees below the horizon. All elements are cut to about one quarter of the resonant wavelength. Once I build it, I intend to hang the antenna on our clothesline, one end of which is conveniently mounted over our back door. I’ll run the coax from the antenna, through the cracked door, and into the relative warmth of the garage.
Source parts. I can’t reasonably make the connectors and cables I’ll need, so I have to purchase them.
Design antenna assembly block. The elements need to come together on some central support part. That sounds like a good job for a 3D printer. I already have a decent head start on this.
Order nanoVNA. This device will allow me to measure the resonance of the antenna and tune it as needed. Tuning is accomplished by simply trimming the ends of the elements and remeasuring.
Assemble and tune. I’ll print and solder everything, and then I’ll use the nanoVNA to dial in the resonant frequency.
Test on the air. Once the nanoVNA shows good resonance, I’ll hook up my radio and see if anyone can hear me.